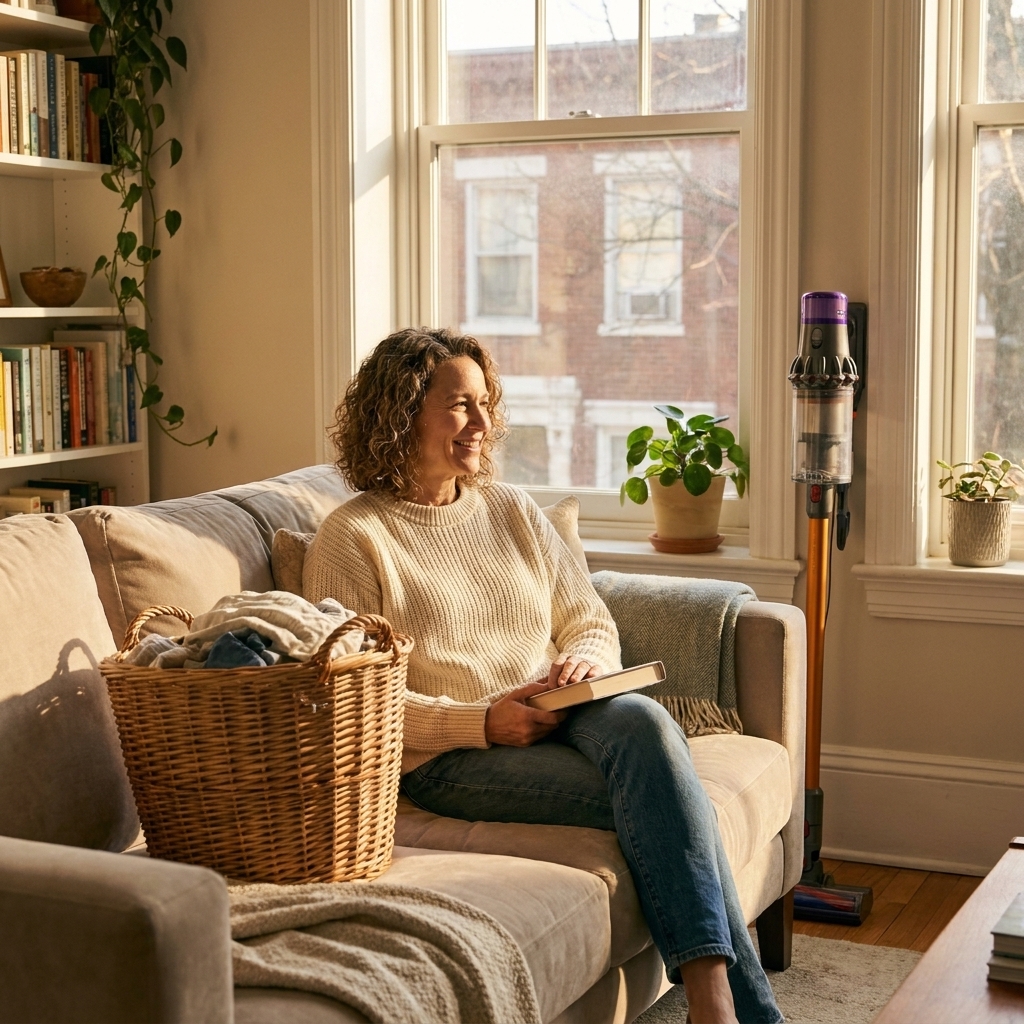
There is a special kind of clutter that does not feel like clutter at first. It feels like potential. A half-finished puzzle you are genuinely enjoying. The paint samples you are definitely going to choose this weekend. The knitting project you swear you will get back to as soon as life calms down.
Then three weeks pass, the dining table becomes a supply depot, and you start doing that sideways shuffle around piles that technically belong to your “future organized self.”
I am a reformed messy person, which means I have learned this the hard way: in-progress clutter needs a system, not willpower. You do not need to stop having projects. You just need a way to keep them contained, easy to resume, and easy to put away when real life shows up.
Why it spreads fast
In-progress clutter is different from everyday mess because it has two powerful traits:
- It is decision-heavy. Projects contain lots of tiny decisions, so we leave them out to avoid restarting the mental load.
- It feels temporary. We tell ourselves it will be done soon, so it does not “count” as clutter. Until it does.
The goal is not to make your home look like nobody lives there. The goal is to make projects easy to continue without letting them colonize your living spaces.
The 3-zone rule
If you only do one thing from this article, do this: give every project three clear homes. When a project has defined zones, it stops wandering.
Zone 1: Active workspace
This is where you work on the project right now. It should be:
- Limited to one surface or one corner
- Easy to protect from pets, toddlers, dinner, and life
- Fast to reset when you need the space back
Examples: one end of the dining table with a tray, a card table in a spare room, or a desk corner with a mat.
Zone 2: Parking spot
This is where the project goes when you are not actively working on it but will resume soon. Think: “I can put this away in 60 seconds.”
- A covered bin under the sofa table
- A tote with a zipper in a closet
- A rolling cart next to your workspace
Zone 3: Supply home
This is the long-term storage for extra materials and tools that do not need to live with the project 24/7. Zone 3 keeps you from rebuying basics because you can never find the first pair of scissors.
Common supply homes: a utility drawer, a craft cabinet, a garage shelf, or one dedicated bin per category (painting, sewing, puzzles, DIY).
Containers that work
Temporary storage is only temporary if it is easy to use. If the container is annoying, you will not use it, and the project will stay on the table forever. Here are my real-life favorites.
Project trays for table takeovers
For puzzles, paperwork, or any project that spreads flat, a tray is your best friend. Look for a tray with a lip so things do not slide off when you lift it.
- Use it when: you need to clear the table quickly for meals
- Keep it: on a shelf, on top of the fridge, or in a closet nearby
Lidded boxes for tiny pieces
LEGO builds, sewing notions, jewelry making, and model kits all go better with a lid. Without one, small parts are more likely to wander, spill, or get “put somewhere safe” and vanish.
- My rule: one container per project, not one container for all projects
- Bonus: clear containers reduce the “out of sight, forgotten forever” problem
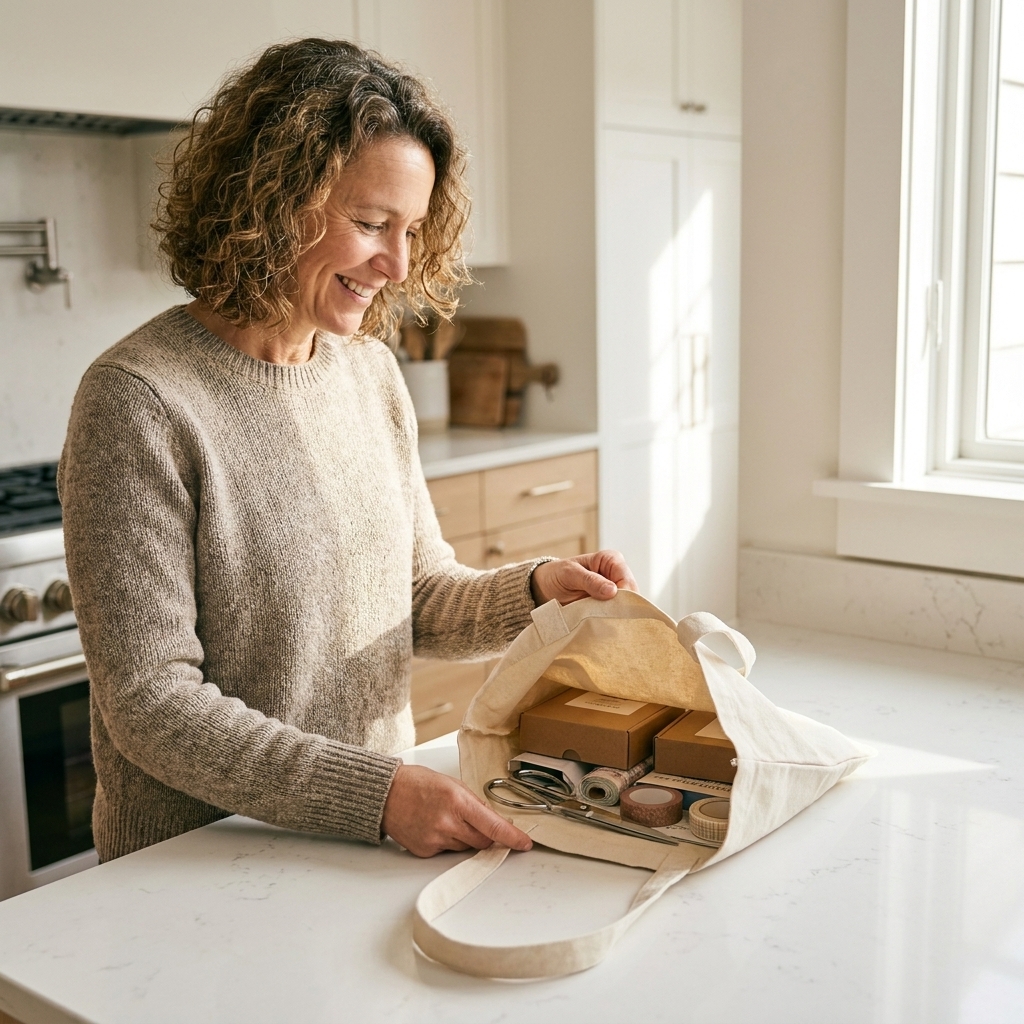
Zip pouches inside a tote
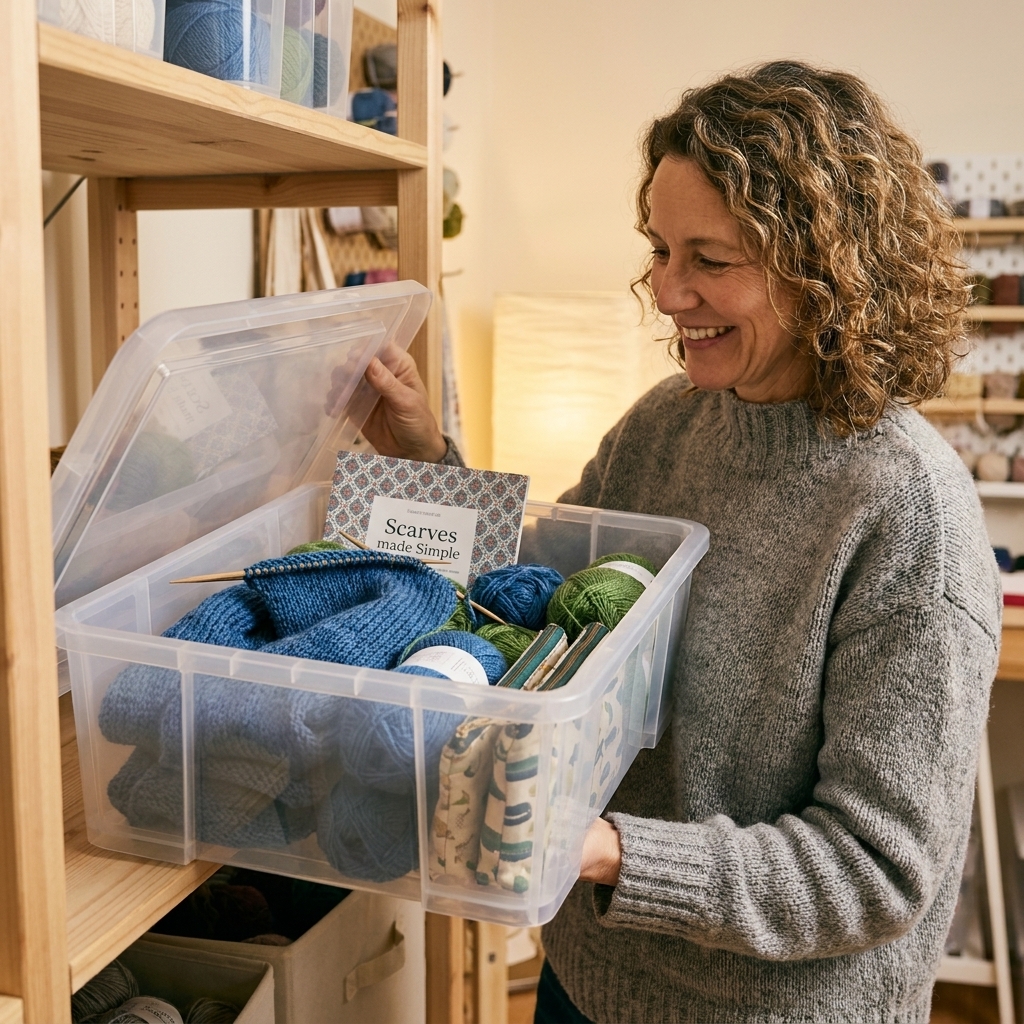
Knitting, crochet, hand embroidery, and small paper crafts are perfect for a tote system. Put the project itself in the tote, then use zip pouches for tools.
- One pouch for tools (scissors, tape measure, stitch markers)
- One pouch for instructions and patterns
- One pouch for “extras” (buttons, needles, refills)
This is also how you prevent the infamous “where did the small Allen key go?” situation for DIY kits.
Set a footprint
This is the part that changed everything for me. Every active project gets a physical boundary that defines its footprint. When the project exceeds the footprint, it is a sign you need to pare it down or move it to a better workspace.
Choose one:
- A tray (best for puzzles and paper projects)
- A shallow bin (best for mixed supplies)
- A cutting mat (best for sewing and crafting)
- A box with a lid (best for kid projects)
If it does not fit, something has to go back to Zone 3. Harsh? Maybe. Peaceful? Absolutely.
Make restarting easy
The biggest reason in-progress clutter stays out is fear of forgetting what you were doing. Solve that with a simple restart card.
Grab an index card (or sticky note) and jot:
- What you just finished
- What the very next step is
- Where the key pieces are (paint color name, pattern row, screw size)
Then store the card in the bin or tote. When you come back, you skip the 15-minute “where was I?” spiral, which is exactly what makes you avoid putting it away in the first place.
Label it once
If Zone 2 and Zone 3 are where projects go to disappear, labeling is the antidote. Keep it simple and slightly bossy.
- Label the container with the project name (“Hallway paint test,” “Blue scarf,” “Bathroom shelf fix”).
- Add a date like “started” or “last worked on.” This turns vague guilt into actual information.
- Label small pouches inside the kit if needed (“bits,” “instructions,” “hardware”).
You are not making a museum archive. You are making it easy to pick up where you left off.
Safety and sanity checks
Projects should be easy to resume, but also easy to live around.
- Sharp tools: Store blades, needles, and scissors in a closed pouch or box, especially if you have kids or curious pets.
- Choking hazards: Any tiny parts project needs a lid that actually stays on.
- Fumes and mess: Paint, stain, and strong glue belong in a ventilated area. Cap everything tightly before “parking” it.
- Pets and hair: Fabric projects do best in a zip tote or covered bin, not an open basket.
- Humidity: Paper, photos, and puzzles store better indoors than in a damp garage or basement.
Room-by-room zones
Living room
- Best projects: knitting, hand sewing, small puzzles on a tray, mending
- Best storage: a lidded ottoman, a slim bin under the sofa, a basket with a lid
- Non-negotiable: everything must be liftable in one trip
Kitchen or dining
- Best projects: homework, paperwork sorting, puzzle nights, planning
- Best storage: a tray plus a vertical file holder for papers
- Boundary rule: one tray per project, and the table clears for meals
Bedroom
- Best projects: journaling, small crafts, quiet personal projects
- Best storage: a bedside bin with a lid or a drawer divider system
- Watch out: bedroom projects love to become doom piles on dressers
Garage, basement, or utility room
- Best projects: DIY, painting, home repairs, tool-heavy builds
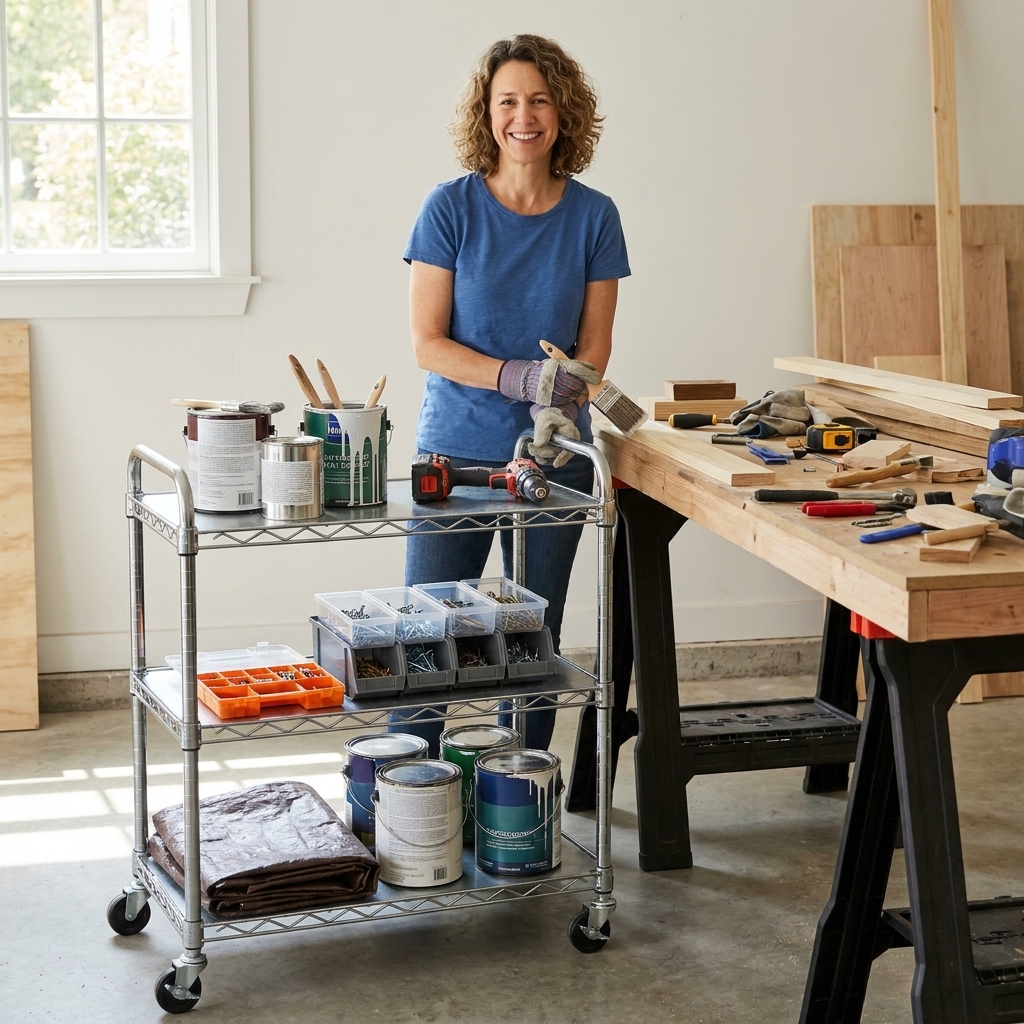
- Best storage: stackable bins, a small parts organizer, a rolling cart
- Pro tip: keep a dedicated “house tools” kit inside, so you are not hauling everything out for one loose hinge
Example setups
Knitting kit
- Zone 1: a small tray or basket next to your seat
- Zone 2: a zip tote holding the project, plus pouches for tools and pattern
- Zone 3: extra yarn, needles, and notions in a labeled bin by category
Home repair kit
- Zone 1: a shallow bin on the floor near the fix, only the tools you need today
- Zone 2: a covered box with a hardware pouch, manual, and restart card (“next: anchor into stud, 2 inch screws”)
- Zone 3: a dedicated house toolkit and a small parts organizer on a shelf
Paperwork sorting kit
- Zone 1: a tray plus three folders (To do, To file, To shred)
- Zone 2: a portable file box or lidded tray you can stack and move
- Zone 3: permanent files in one drawer or one file box, clearly labeled
The weekly reset
You do not need a big purge every month. You need a short weekly reset that keeps in-progress clutter from turning into permanent decor. Aim for 10 to 15 minutes, once a week.
Step 1: Round up (5 minutes)
Walk the main living areas with a basket and collect anything project-related that is out of its zones.
Step 2: Decide the status (5 minutes)
- Active: keep in Zone 1, within the footprint
- Paused: move to the Zone 2 parking spot
- Stalled: move to Zone 3, schedule a restart, or let it go
Step 3: Make next week easier (5 minutes)
Add a restart card, toss trash, and consolidate supplies. If a project takes more than one minute to pack up, tweak the container until it does not.
Starting too much
As a person who has absolutely started a new organizing project to avoid finishing another organizing project, I get it. Here are a few gentle guardrails that help.
Cap active projects
Pick a number that matches your season of life. If you need a helpful starting point, try 2 to 3 active projects.
If you want to start something new, you can, but you must either:
- finish one active project, or
- pause one and park it properly
Create a project wish list box
This is for ideas and supplies you are not actively using yet. Keep one bin (with a lid) for:
- new patterns
- paint samples
- craft kits
- puzzle boxes you want to start
When you get the itch to begin something new, you can shop your own box without exploding the house.
Kids’ projects
Kids create in bursts, and expecting them to “put everything back perfectly” is a recipe for everyone crying. Try systems that match how kids actually operate.
Use a lidded creation bin per child
- One bin per kid, not one giant shared craft bin
- Keep basic supplies inside (glue stick, crayons, safety scissors)
- Put ongoing masterpieces in a folder or large envelope inside the bin
Have a display limit
Pick one spot for showing off art: a corkboard, a fridge section, or a string with clips. When it is full, you choose together what rotates out. This honors their work and keeps surfaces clear.

Troubleshooting
I forget projects when I put them away
Use clear bins, store them at eye level, and add a restart card. Also, schedule a recurring project hour once a week so paused projects get airtime.
My project is too big for a container
Go for a defined footprint instead: a tray, a shallow under-bed bin, or a dedicated corner with a single shelf. For large DIY, contain the small parts in labeled pouches so the chaos does not spread.
I do not have a spare room
You do not need one. Most homes do best with portable projects. If the project cannot be lifted and parked, it is more likely to take over. Consider switching the workspace to a folding table or a rolling cart you can tuck away.
My partner hates projects left out
Agree on public space rules. For example: no loose supplies on the couch, and the dining table clears nightly. Then pick a Zone 2 parking spot that is out of sight but easy to access.
A simple plan
- Pick one project that is currently taking over a surface.
- Choose a container (tray, lidded box, or tote) that fits that project.
- Create a restart card with the next step.
- Assign the three zones: active workspace, parking spot, supply home.
- Set a 10 to 15 minute weekly reset on your calendar.
That is it. No color-coded perfection required. Just a system that lets you enjoy your hobbies and your home at the same time.
Quick FAQ
What is the best way to store an in-progress puzzle?
Use a large tray with a lip or a puzzle mat you can roll up, then store the box and loose pieces together in a lidded bin. Keep it in a Zone 2 parking spot so the table can be used daily.
How do I organize multiple ongoing crafts at once?
Give each craft its own tote or lidded container with a restart card. Store them together on one shelf, then rotate what is active. Mixing projects in one container is one of the fastest ways to lose pieces and motivation.
How long should I keep a stalled project?
A month is a useful check-in point for many people, not a hard rule. If you have not touched it in a while and there is no realistic plan to return (or it is not seasonal, waiting on parts, or in a long dry time), either fully pack it into Zone 3 with a clear note, or let it go. A paused project is fine. A guilt project is not.