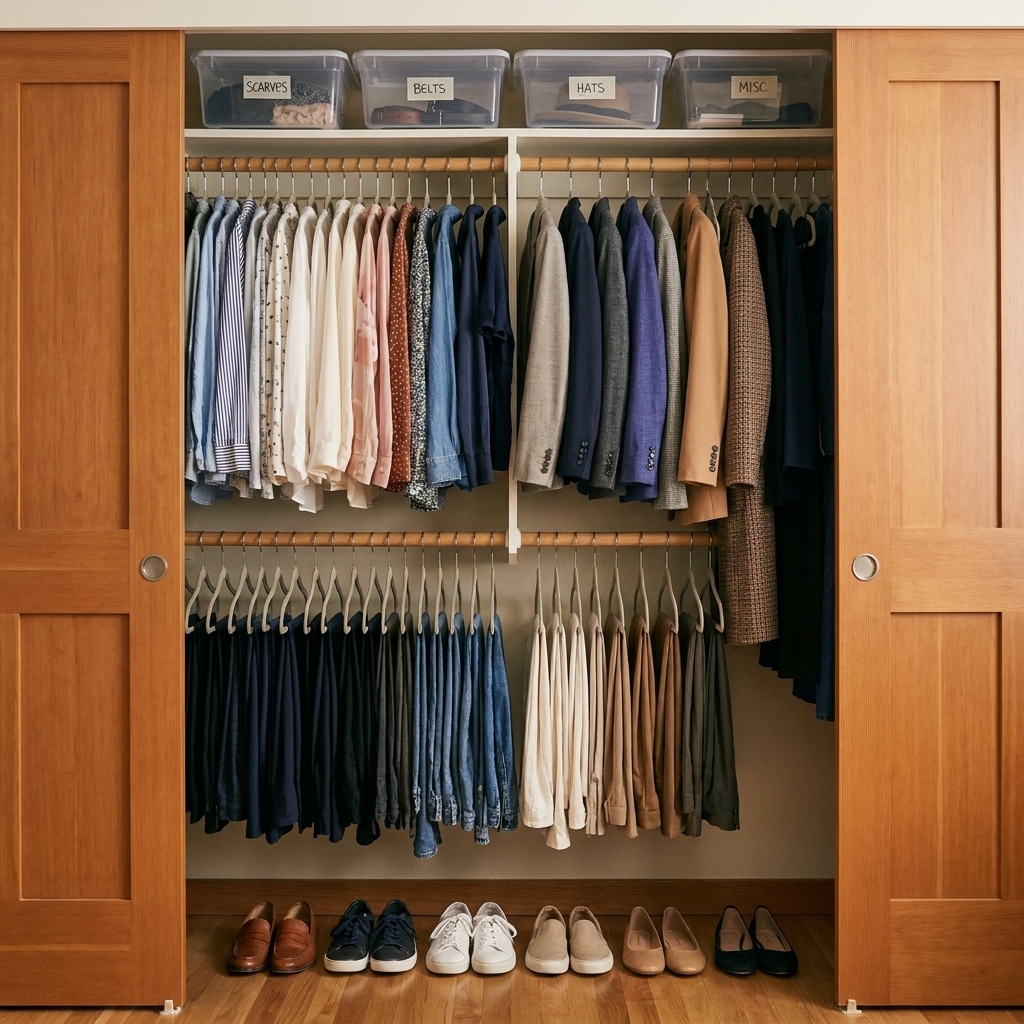
If your closet is packed but you still feel like you have “nothing to wear,” you’re in the exact spot I lived in for years. I’m not naturally tidy. I’m the person who used to shove a clean shirt onto a chair because hanging it up felt like a whole project.
The fix wasn’t becoming a different person. It was building a closet system that tells the truth. The Reverse Hanger Hack does exactly that, and the six strategies below help you make faster decisions so you can donate confidently and stop letting “someday” clothing take up valuable real estate.

Before you start: set your rules
Closet purges go off the rails when we start debating each item like it’s on trial. Decide your rules first, then follow them like a checklist.
- Time limit: 60 to 90 minutes. If you’ve got more, great. If you don’t, stop at the end of the timer and pick up later.
- Only 4 piles: Keep, Donate, Recycle/Trash, Maybe.
- One container per pile: A laundry basket for “Keep,” a bag for “Donate,” a small bag for “Recycle/Trash” (textiles and damaged items), and one bin for “Maybe.”
- Donation exit plan: Pick the drop-off location now, or schedule a pickup. A purge isn’t done until the bag is out of your house.
Quick reality check: if you’re keeping something because it was expensive, that’s sunk cost. The money is already spent. Now you’re deciding what gets to live in your space.
One more practical rule: Donate clean, dry clothes. If it smells like storage or has mystery stains, it’s a recycle/trash decision, not a donation decision.
1) The Reverse Hanger Hack
This is the simplest way to see what you actually wear without relying on memory or “I think I wore that recently.”
How to do it
- Start with all hangers flipped backward (hook facing you) for the section you’re auditing. Do tops first if you get overwhelmed easily.
- Wear something, then rehang it normally (hook facing away). That’s it.
- Set a time window: 30 days for a fast reset, 90 days for a true lifestyle sample, 6 months if you want seasonal accuracy.
- At the end, anything still backward is a decision, not a debate.
What to do with the backward hangers
- Donate: Items you forgot you owned, anything that never gets chosen, and pieces you avoid for fit or comfort.
- Maybe bin: Special occasion items, interview pieces, or genuinely seasonal items if your window was short.
- Keep with a fix-by date: Items that need one small repair. Add a deadline like “by next Sunday.” If it’s not fixed, it goes.
My reformed-messy tip: Don’t flip the hanger for “worn once for laundry day.” Only flip it for outfits you felt good in and would choose again.
2) The 10-Outfit Test
Some clothes are fantasy lives on hangers. The 10-Outfit Test exposes them in minutes.
How it works
Pick one category you over-own, like jeans, blazers, or work tops. For each item, try to build 10 outfits you’d truly wear using what you already own.
- If you can’t make at least 3 outfits quickly, that item probably isn’t working in your real wardrobe.
- If every outfit requires buying “the right shoes” or “a better bra,” that item is renting space.
- If you can build 10 outfits effortlessly, that piece earns its hanger.
3) The Fabric Feel Audit
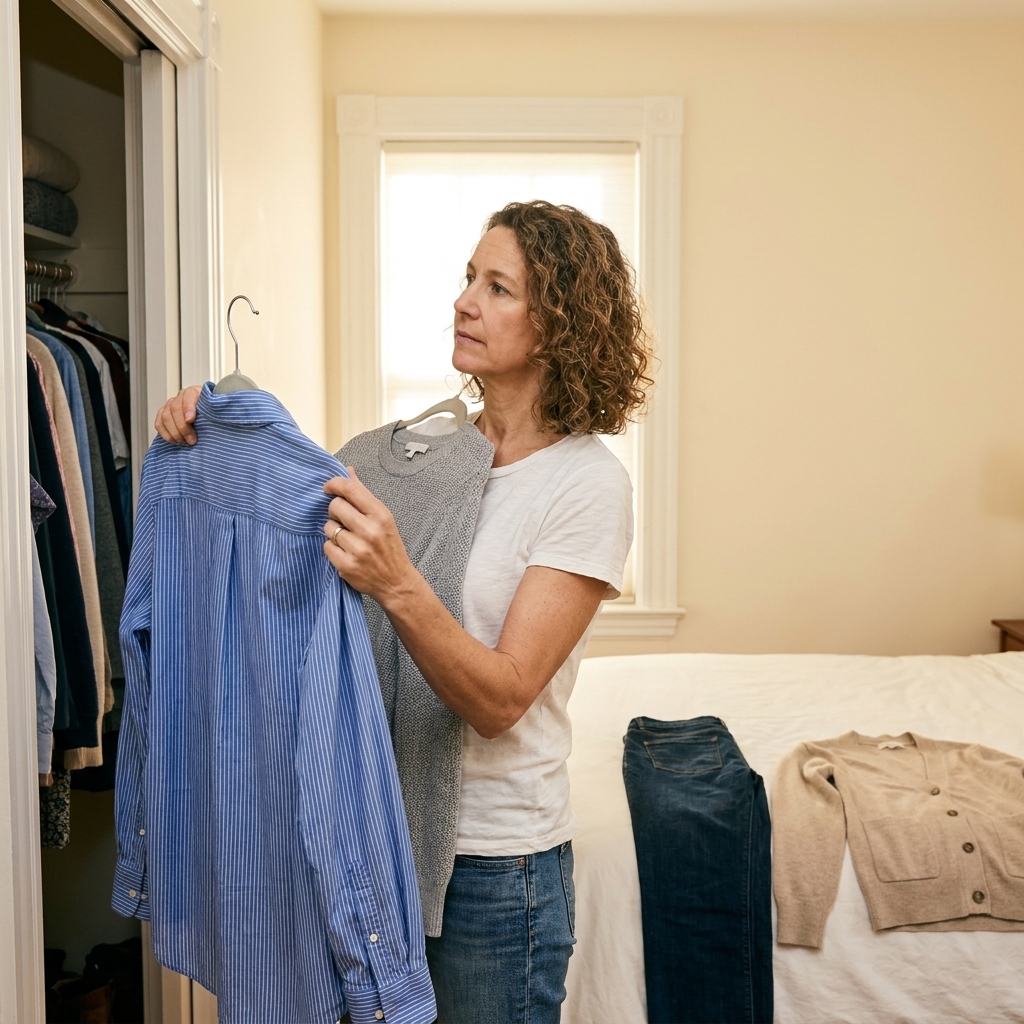
This is my favorite ruthless strategy because it’s so honest. If you don’t like how it feels on your body, you won’t reach for it, even if it looks cute on the hanger.
Do a quick sensory check
- Scratchy, stiff, or clingy: Consider donating.
- Needs constant adjusting: Consider donating.
- Only works with shapewear you hate: Consider donating.
- Always rides up, falls down, or twists: Consider donating.
Keep clothes that are easy. Your closet should support your day, not create extra micro-annoyances before you leave the house.
4) The One Laundry Cycle Rule
If you’re holding onto worn-out basics because they still technically fit, this rule helps you cut cleanly.
Ask three questions
- Would I buy this exact item again today? If no, it’s a strong sign it can go.
- Does it survive one normal laundry cycle and still look good? If it warps, pills, or fades badly, it’s probably done.
- Does it photograph well? This matters more than we admit. If it looks tired in photos, you’ll avoid it.
Where it should go: Items with holes, heavy pilling, or stretched elastic are often better for textile recycling than donation, but rules vary by charity. If you’re unsure, check your local donation guidelines first.
Recycle/trash ideas: Look for municipal textile recycling, local drop boxes, or store take-back programs in your area. If nothing exists near you, use worn items as rags and then trash what’s truly beyond saving.
5) The Duplicate Showdown
Duplicates are sneaky. Ten black tops feels responsible until you realize you only wear two of them.
How to run a showdown
- Pull every duplicate type you own: white tees, black leggings, denim jackets, etc.
- Choose your top 2 to 4 based on fit, comfort, and how often you reach for them.
- Check the rest for “why not” reasons: neckline bugs you, sleeves are weird, fabric is thin, color is off.
- Donate the rest.
Keeping backups is fine, especially for uniforms or gym clothes. Just keep backups you like, not backups you tolerate.
6) The Maybe Bin Deadline
A Maybe pile isn’t failure. It’s a tool, as long as it has rules. Without rules, it becomes a storage unit for indecision.
Set it up
- Use a lidded bin or a clean bag labeled in your mind as “Temporary.”
- Put only true maybes inside: sentimental items, body-change items, special event pieces.
- Set a deadline: 30 days if you need speed, 90 days for a seasonal check.
How the deadline works
If you don’t pull it out, wear it, and feel good in it before the deadline, donate it. If you do wear it, it earns a real spot in the closet.

Weekend closet audit
Step 1: Clear your decision zone
Make a small staging area: bed, floor space, or a table. Put your four piles there.
Step 2: Start with the easiest category
For most people, that’s tops or activewear. Starting easy builds momentum.
Step 3: Run the fast filters first
- Anything stained, ripped, or stretched out goes to Recycle/Trash.
- Anything that fits poorly right now goes to Maybe with a deadline or Donate.
- Anything you wouldn’t wear if you saw a friend at the grocery store goes to Donate.
Step 4: Use one ruthless test for the rest
Pick one from above (Reverse Hanger, Duplicate Showdown, 10-Outfit Test) and stick with it. Consistency makes decisions faster.
Step 5: Put back only the winners
Hang and fold the Keep pile neatly. You’re not organizing forever. You’re resetting so it stays manageable.
Step 6: Get donations out within 24 hours
Put the donation bag in your car immediately, or place it by the front door with your keys. Closet clutter loves a second chance to creep back in.
Step 7: Do shoes and accessories fast
Keep it simple: grab all shoes, belts, and bags and do a quick Duplicate Showdown. If it hurts, breaks, or you always skip it, it’s a donate or recycle/trash decision.
Clothes guilt, reframed
Guilt is usually tied to one of these situations. Here’s the simple reframe that helps.
- “It was expensive.” Then it deserves to be used by someone who will actually wear it. Donating lets it have a life.
- “It was a gift.” The purpose of the gift was the moment you received it. You’re allowed to release it.
- “I might need it.” As a rule of thumb, if you haven’t worn it in a full season or a year, you probably don’t need it. Exceptions are real: formalwear, travel-climate pieces, uniforms, pregnancy or postpartum items, and anything tied to safety or work.
- “My body changed.” Keep a small, intentional capsule for transitions. Donate the rest so your closet supports you right now.
Mini maintenance plan
The goal isn’t a perfect closet. The goal is a closet that stays breathable.
- One-in, one-out: When a new item comes in, one item leaves. Put the outgoing item straight into a donation bag.
- Sunday reset: Take 10 minutes to rehang strays, fold one shelf, and return shoes to their spot.
- Quarterly quick purge: Do a 15-minute Duplicate Showdown on one category.
FAQ
How long should I do the reverse hanger hack?
Thirty days works for a quick reality check, but 90 days gives you a truer picture. If your wardrobe changes a lot by season, do it twice a year.
What about special occasion clothes?
Keep a small, defined section. If you’ve got multiple dresses for the same type of event, keep the one you feel best in and donate the rest.
Should I organize before I declutter?
No. Declutter first. Organizing clutter is just making a nicer pile of decisions you still have to make later.
How do I decide between donating and selling?
If it’s worth enough to motivate you and you can list it within a week, sell it. Otherwise donate. The goal is space and ease, not a second job.