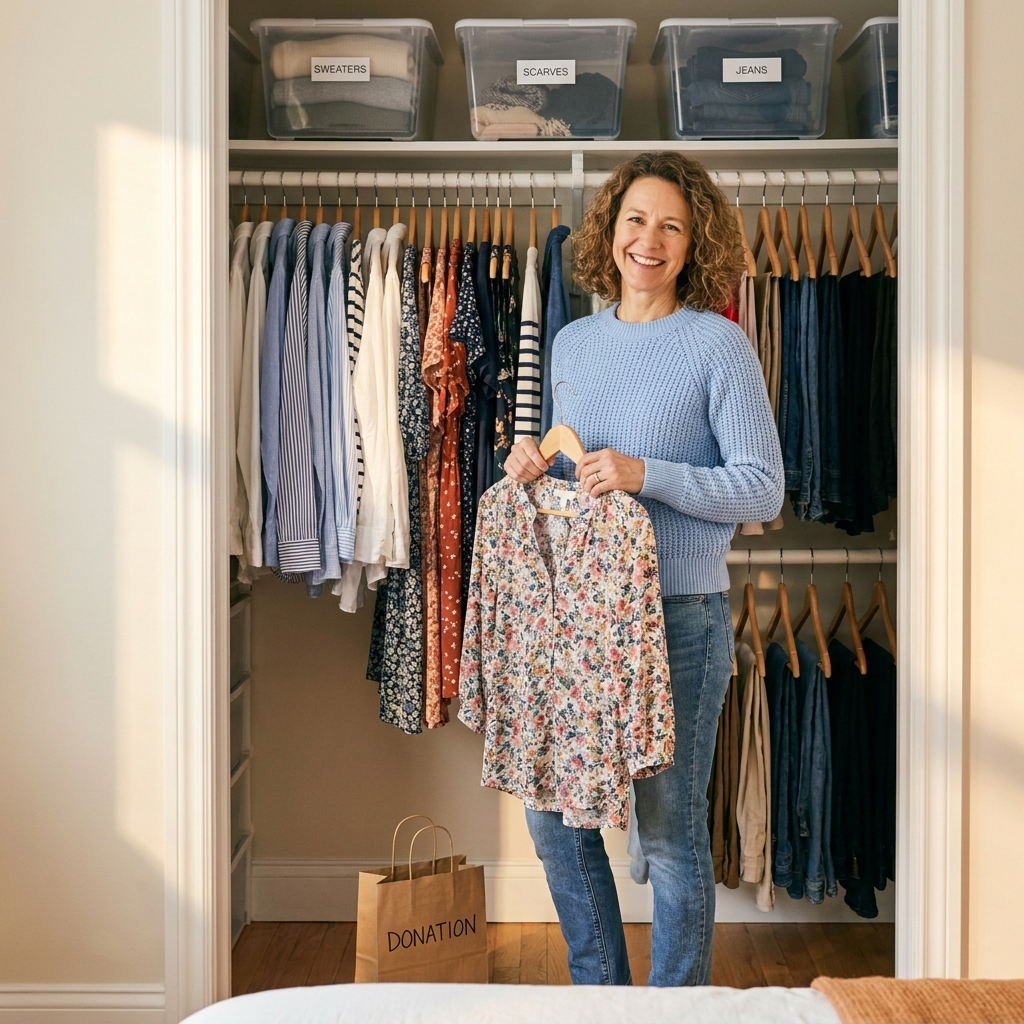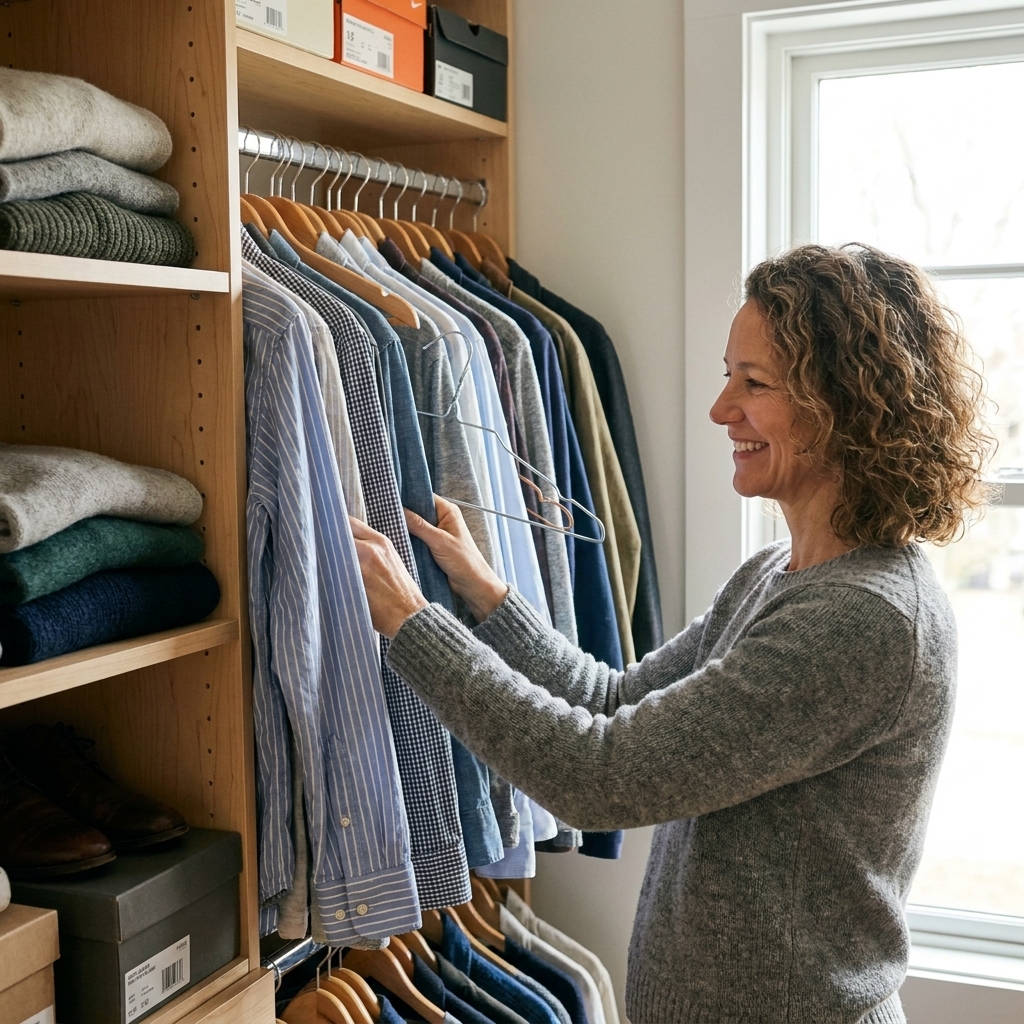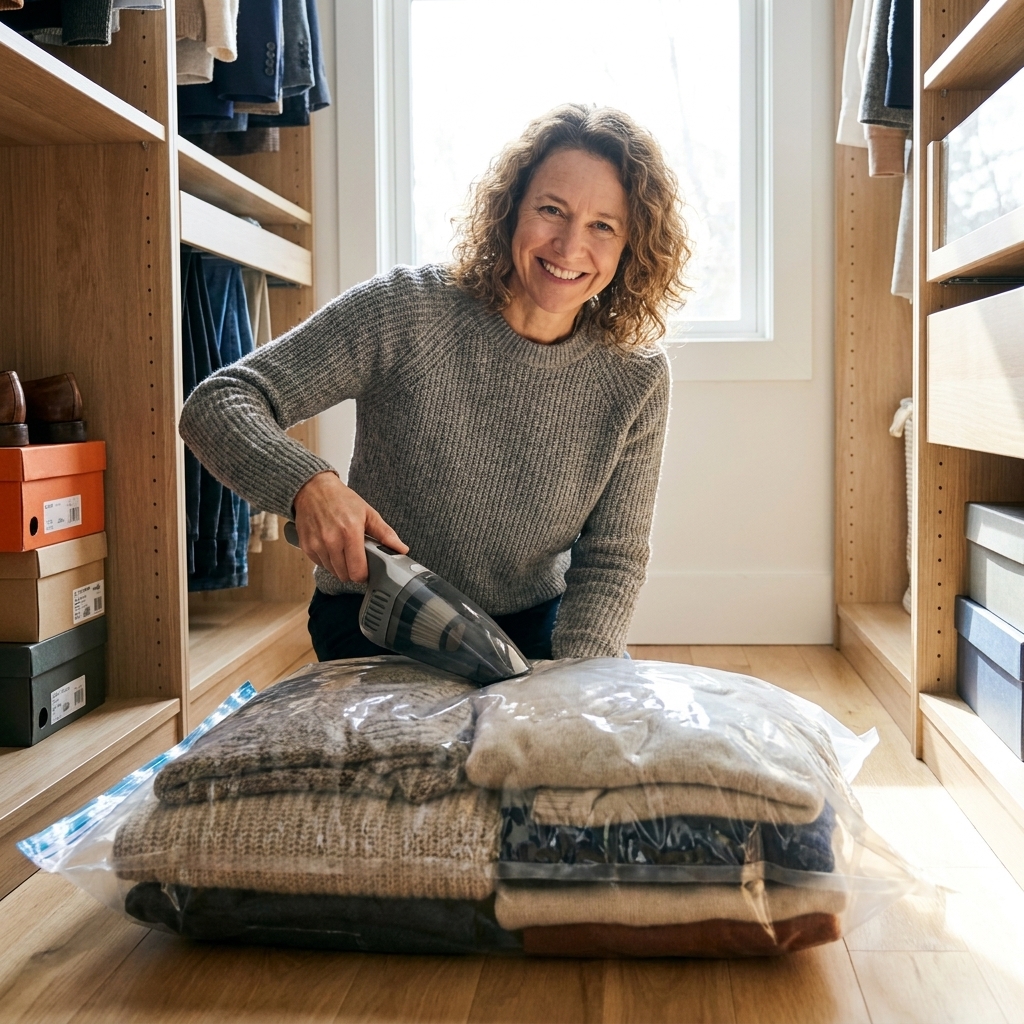
If your reach-in closet is tiny, you do not need a bigger closet. You need a smarter one. I learned this the hard way after years of stuffing sweaters onto the “one random shelf,” playing hanger Jenga every morning, and swearing I would deal with it “this weekend.”
This guide is the system that finally stuck for me: use the vertical space, add a second hanging level where it makes sense, and switch to slim-line hangers so your clothes take up less real estate without you having to purge half your wardrobe in a panic.
Before you buy anything: a 15-minute audit
I love a good organizing product, but in a tiny closet, buying bins before you know what you are storing is how you end up with a closet full of empty containers and nowhere to put your jeans.
Step 1: Pull everything out in fast categories
- Hang: items that wrinkle or you wear weekly (work tops, dresses, jackets)
- Fold: knits, tees, jeans, activewear
- Store: off-season, occasion wear, bulky gear
- Shoes and accessories: shoes, belts, bags, scarves
Step 2: Measure the closet once
Grab a tape measure and write down:
- Closet width
- Depth (front edge to back wall)
- Height to the existing rod and top shelf
- Door type (bi-fold, sliding, hinged) and how much clearance you have
- Shelf depth (top shelf and any built-ins)
- Rod setback: distance from the rod to the back wall and to the door (this is the “will my hangers hit?” measurement)
Those numbers tell you what will actually fit, especially for shelf add-ons, hanging organizers, and double-hanging.
Step 3: Decide what your closet needs to do
A tiny reach-in closet cannot be a warehouse for everything you own. Pick its job description. For most bedrooms, the best “job” is: daily clothing, shoes you actually wear, and a small zone for accessories. Anything else needs to earn its keep.
Three upgrades that matter most
1) Slim-line hangers (instant space)
If you do one thing, do this. Bulky mismatched hangers steal inches you do not have. Slim velvet or slim plastic hangers keep shoulder shapes neat and let you fit more on the same rod without crushing everything together.
- Pick one hanger type for everyday clothes so spacing is consistent.
- Use sturdy hangers for coats and heavy items so they do not droop.
- Turn all hangers the same direction. It sounds fussy, but it makes the closet feel calmer and makes gaps obvious.
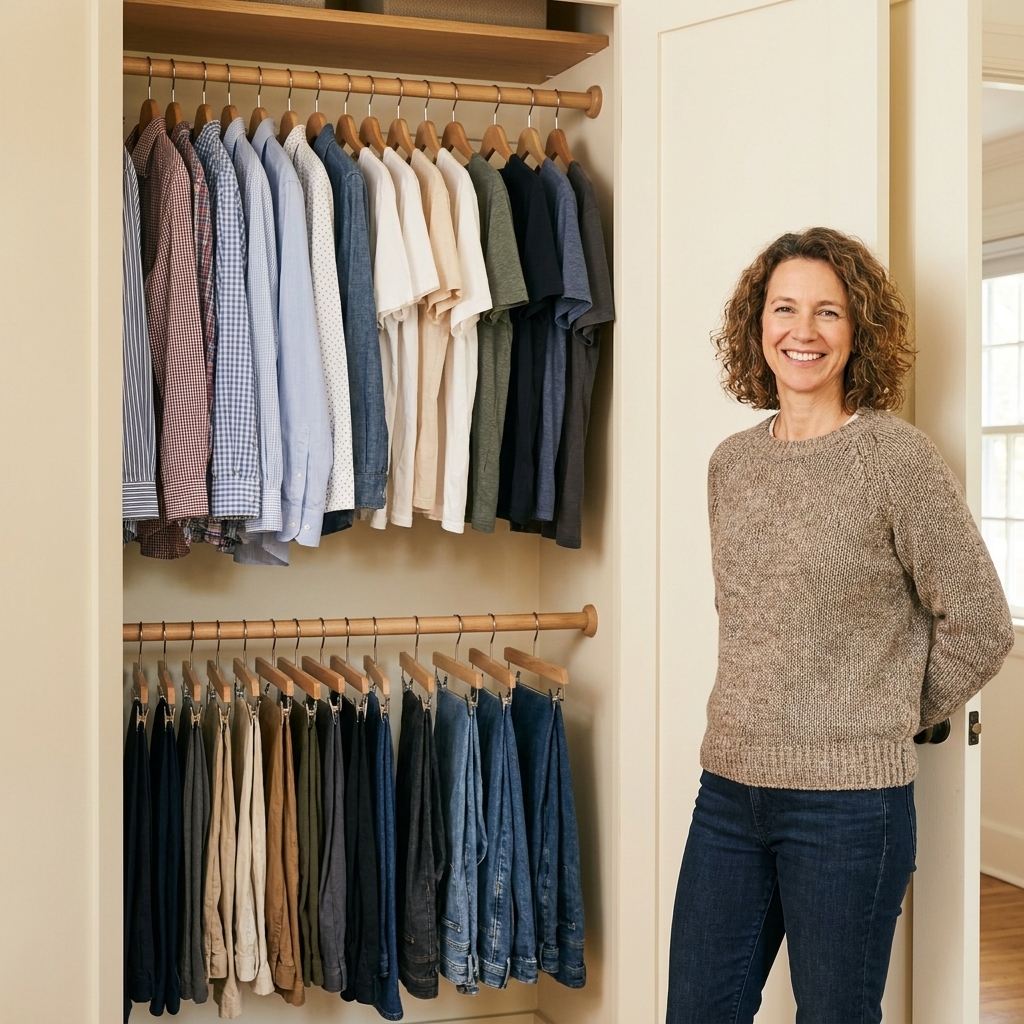
2) Double-hang (when it fits your wardrobe)
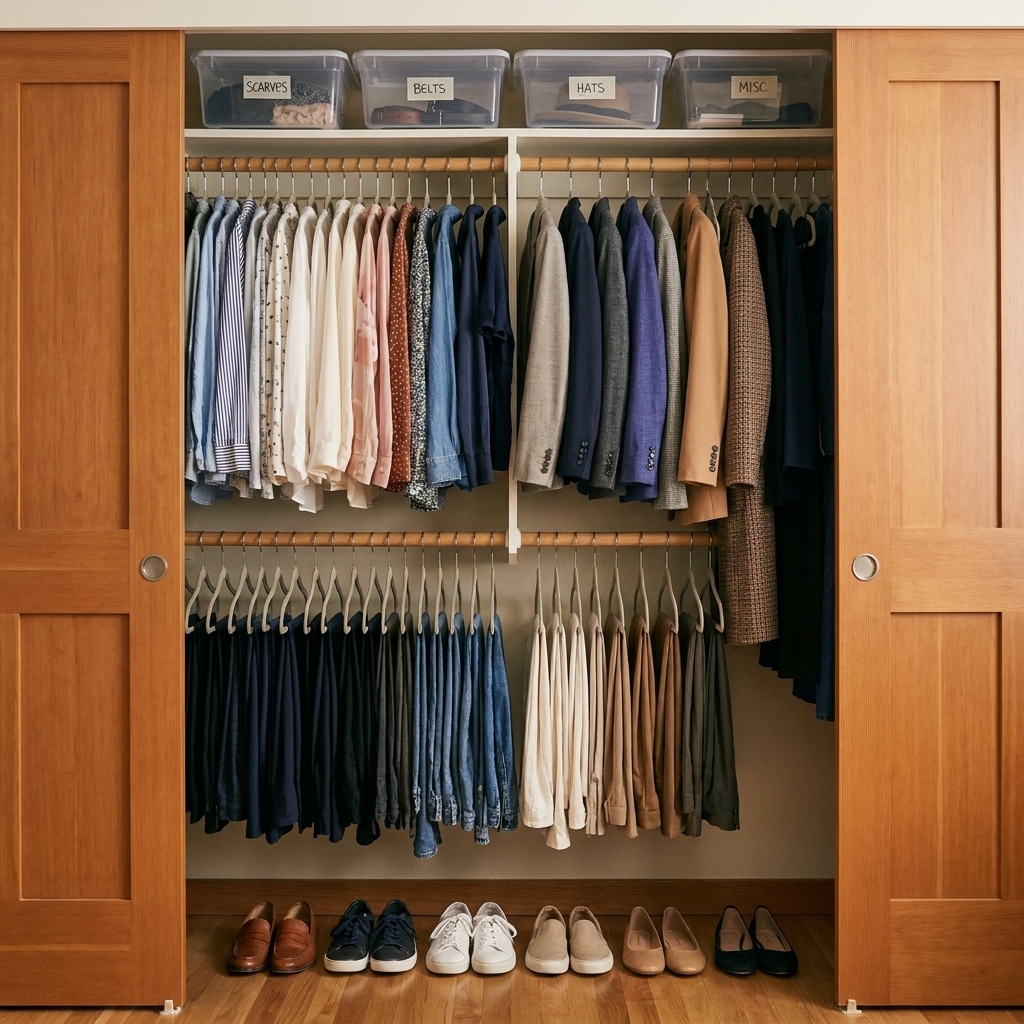
Double-hanging is the tiny-closet cheat code. Most closets waste the space below short items like shirts. Adding a second rod can significantly increase hanging capacity when your closet is mostly shirts, skirts, and folded-over pants, but the payoff depends on your rod spacing, door clearance, and how many long pieces you own.
Best items for the top rod: blouses, shirts, light jackets, pants on a bar hanger, or pants on clip hangers
Best items for the bottom rod: skirts, pants, shorts, kids clothes, button-downs you do not mind slightly closer spacing
When double-hanging is not ideal: If you wear mostly long dresses, coats, or jumpsuits, you need a long-hang section more than a second rod. We will build for that below.
3) Vertical storage (use the full height)
Tiny closets live or die by vertical space. Your goal is to stack upward intentionally, not accidentally.
- Top shelf bins for off-season items and backstock (extra toiletries, linens, handbags you rarely use)
- Hanging shelf organizer for folded tees, sweaters, or workout sets if you lack drawers
- Over-the-door hooks for belts, robes, and tomorrow’s outfit (if your door type allows)
- Shelf risers to create a second level on deep shelves so piles do not become landslides
A note from a reformed messy person: vertical storage only works if you can put things back with one hand. If a bin needs two hands and a yoga pose, it is not a system, it is a future mess.
Choose a layout that fits
Here are three layouts that work in most reach-ins. Choose the one that matches what you actually wear.
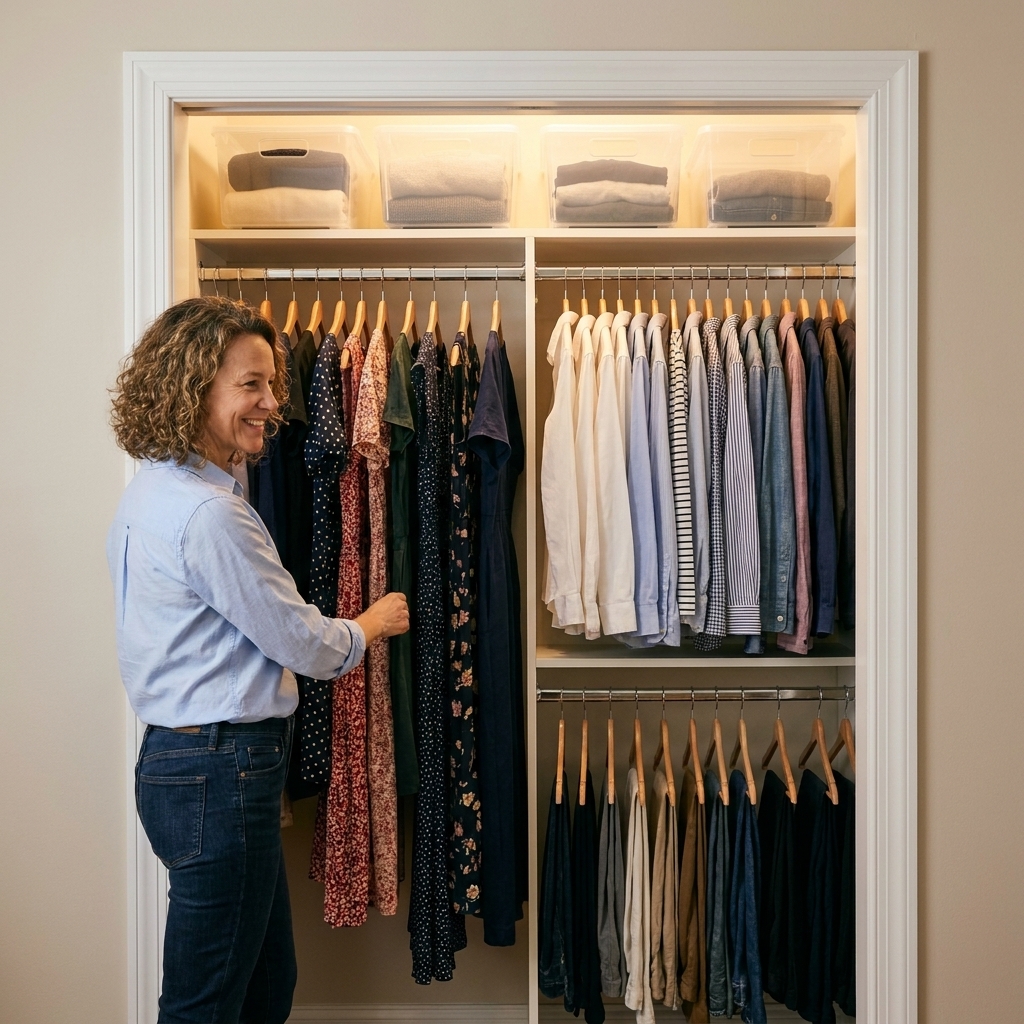
Layout A: Split setup
- Left side: double-hanging (tops above, bottoms below)
- Right side: long-hang section for dresses and coats
- Top shelf: labeled bins for off-season and rarely used items
- Floor: a shoe rack or a neat row of your most worn pairs
Layout B: Double-hang max
- Full width: double-hanging across the closet
- One narrow vertical zone: hanging shelves for knits or activewear sets
- Top shelf: bins for backups and accessories
This one is amazing if you mostly wear tops and bottoms and you are tired of cramming hangers like sardines.
Layout C: Fold-first
- One rod: only for wrinkle-prone essentials
- Hanging shelves or stackable shelf cubbies: for sweaters, jeans, tees
- Bins: for seasonal overflow
If you constantly re-hang sweaters that slide off, you will love the fold-first approach.
Create zones that stick
Zoning is what makes the closet stay organized after the big reset. Think of zones like parking spots. If everything has a spot, you stop making those “temporary” piles that become permanent.
Zone 1: Daily wear at eye level
Keep your most-worn clothing where your hands naturally go. This reduces the urge to toss things over a hanger or stuff them on the shelf.
- Workhorse tops and bottoms
- Light layers
- One week’s worth of favorites (if laundry cycles are unpredictable in your house, you know what I mean)
Zone 2: Shoes in rotation
Tiny closet truth: if you have 25 pairs on the floor, you will not put them back. A good starting point is about 6 to 10 in-season, in-rotation pairs in the closet, but adjust for real life. If you need work boots, gym shoes, and weather shoes all at once, you are not doing it wrong. You are just living in a climate.
- For floor space: a slim shoe rack or a tight row, toes out
- For vertical space: hanging shoe pockets if your doors allow it
Zone 3: Accessories that behave
Belts, scarves, and bags are clutter magnets. Contain them.
- One hook or hanger for belts
- One bin for scarves (do not let them live loose on the shelf)
- One shelf section for handbags, ideally upright with a little space so they do not collapse
Zone 4: Off-season and occasion
Off-season items should not compete with daily life. Put them up high in bins, or use garment bags for formal wear you only touch a few times a year.
My rule: if you cannot remember the last time you wore it, it does not get prime hanging space.
Vertical storage (no junk tower)
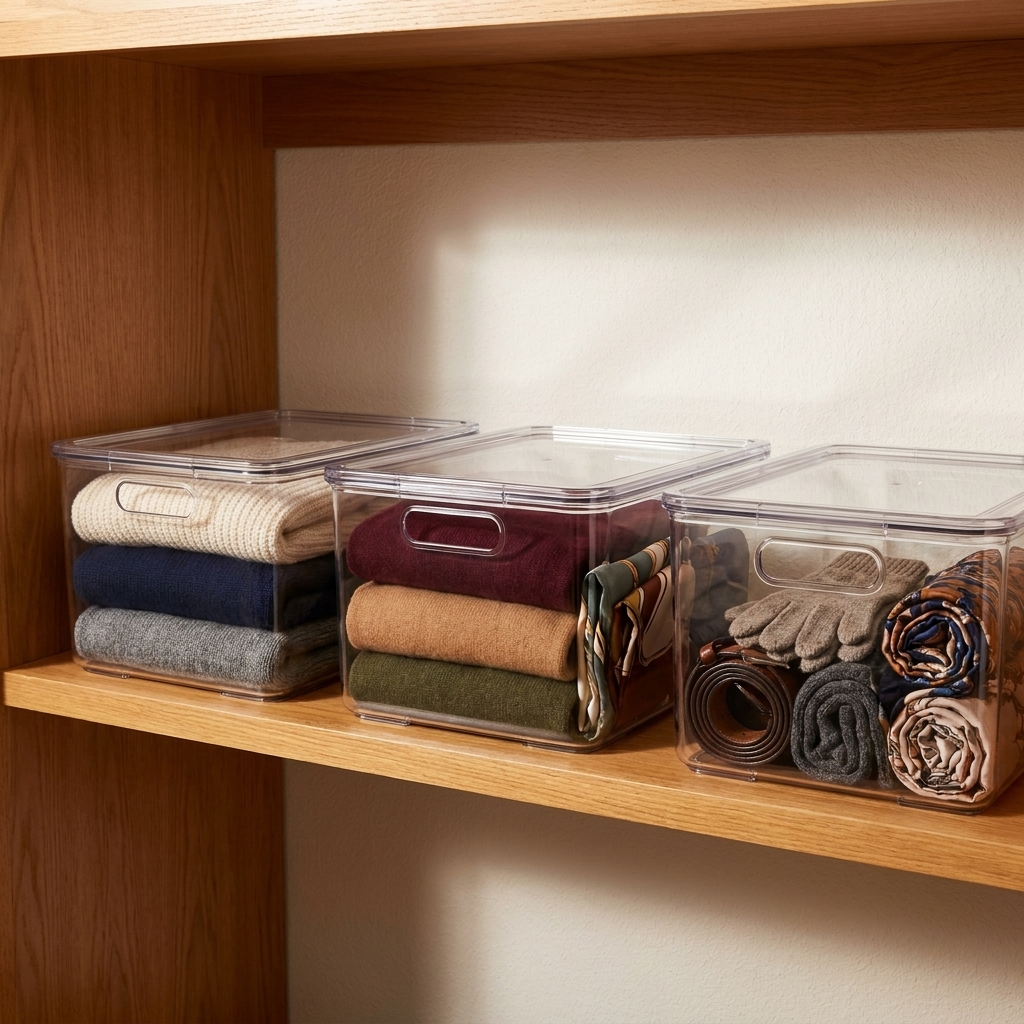
Top shelf: bins, not piles
Top shelves become black holes because “I’ll just set it there” is the easiest decision in the room. Make the top shelf behave with containers.
- Clear bins for visibility (my personal favorite)
- Two categories max per bin so you do not create mystery mixtures
- Heaviest items closest to the edges so you are not yanking a 20-pound bin over your head
Use height without losing access
If your closet ceiling is high, you can add a second shelf above the existing one. But only do it for truly low-frequency items like holiday outfits, memory items, or spare bedding. If you are pulling it down weekly, it is too high.
Double-hanging spacing
A simple spacing test
You do not need to be a contractor to get this right. You just need two garments and five minutes.
- Pick your “typical” items: one shirt for the top rod and one pair of pants or skirt for the bottom rod.
- Hang the shirt where the top rod would be, then measure from the bottom of the shirt to where the lower rod would go.
- Leave breathing room so the top item does not sit on the bottom hangers. If your shirt hem is resting on the lower rod, everything will look wrinkled and feel jammed.
If you want a rough guideline: many closets land in the neighborhood of 30 to 40 inches of vertical space per level for adult clothing, but your wardrobe wins over any generic number. Test with the longest “short item” you plan to hang (long tunics are sneaky).
Common mistake: bulky items up high
Bulky hoodies and heavy sweaters eat vertical space. Fold them or use hanging shelves instead.
Common mistake: mixing lengths on one rod
If you hang long dresses next to short shirts, you waste space and create visual chaos. Group by length:
- Short: shirts, cropped jackets
- Medium: skirts, blazers, pants on bar hangers
- Long: dresses, coats
This is one of those “it looks nicer” tips that is secretly a “it functions better” tip.
Closet depth problems
If your closet is shallow, hangers and sleeves can hit the back wall or get pressed by doors. That is when closets start to feel cramped, even if you do not own that much.
- Use slim hangers to reduce bulk front to back.
- Check rod setback. If hangers are scraping the wall, a rod that sits a little farther forward can help, but you still need the doors to close.
- Face bulky pieces strategically. Coats and structured jackets can take up extra depth. Give them their own section so they do not crush everything else.
Product list (only what earns space)
You do not need all of these. Pick what solves your specific pain point.
- Slim-line hangers: the biggest space win per dollar
- Second rod kit or tension rod: for double-hanging
- Hanging shelf organizer: for folded items when dresser space is limited
- Clear bins with lids: for top shelf categories
- Shelf dividers: to stop sweater stacks from toppling
- Under-shelf hanging baskets: for small items like tanks, socks, or accessories
- Slim shoe rack: to keep the floor from becoming a shoe pile
If I had to choose only two: slim hangers and a second rod. Everything else is optional.
Odd items with no home
Every closet has a few items that do not belong anywhere, and that is usually the whole problem.
Bulky bedding
If your reach-in closet is your only storage, keep one spare set of sheets and one extra blanket. Store them in a zippered fabric bag on the top shelf. Extra comforters can live under the bed in a flat container.
Purses and backpacks
Give bags a defined zone. Either a single shelf section or hooks. If bags collapse into a heap, stuff them with reusable shopping bags to help them hold shape.
Gym gear and extras
Contain it. One bin, one hook, one spot. If it spills out of the category container, that is your signal to pare down.
A weekend reset you can finish
- Empty the closet and wipe the shelves and baseboards.
- Declutter quickly: toss broken hangers, donate items you avoid wearing, recycle worn-out pieces.
- Plan the structure: choose a layout, then place your rod(s) and shelf tools accordingly.
- Install the big pieces: second rod, shelf riser, hanging shelves.
- Switch to slim hangers and hang by category and length.
- Assign zones (daily wear, shoes, accessories, off-season).
- Containerize the top shelf with clear bins and simple categories.
- Do the final one-hand test: can you put items away easily without things falling? If not, reduce what is stored in that spot or change the container.
This reset is not about perfection. It is about reducing friction so you stop fighting your closet every morning.
Safety and install basics
A quick boring note that saves you a future headache: closet rods and shelves get heavy fast.
- Anchor into studs when you can, especially for permanent rod kits and shelves.
- If you use wall anchors, use the right type and weight rating for your wall and the load you are hanging.
- If you rent, check your lease and consider removable options like tension rods or freestanding organizers.
Keep it tidy in 10 minutes
I am not here to promise you a forever-tidy closet. I am here to promise you a closet that bounces back quickly.
- Rehang anything tossed over the rod.
- Put shoes back in their row or rack.
- Return accessories to their bin or hook.
- Move “maybe donate” items into a bag and get it out of the bedroom.
Ten minutes once a week is easier than a two-hour meltdown once a month. Ask me how I know.
Troubleshooting
My clothes still feel cramped
- Check hanger bulk and switch to slimmer hangers.
- Group by length so short items are not blocked by long ones.
- Move off-season out of the main hanging area.
I have no drawers, so shelves explode
- Use a hanging shelf organizer for folded categories.
- Add shelf dividers to keep stacks contained.
- Use bins for small items so they do not migrate.
I have sliding doors, so no over-the-door storage
- Use hooks on the side walls if allowed.
- Add a slim hanging organizer inside the closet.
- Use a narrow set of hooks just outside the closet for tomorrow’s outfit or bags.
The floor becomes chaos
- Limit in-rotation shoes.
- Add a slim shoe rack or a tray-style mat to define the shoe zone.
- Keep the center floor clear so you can step in and reach the back.
FAQ
Are slim velvet hangers worth it?
In a tiny closet, yes. They reduce bulk, help prevent slipping, and make spacing more consistent so you can actually see what you own.
How much space do I need for double-hanging?
It depends on what you hang. Use the spacing test above with your longest short item (often a tunic or longer blouse) and your most common bottoms. If the top items touch the lower rod or crush what is below, you need more spacing or you need a long-hang section instead.
Should I store shoes in the closet or somewhere else?
If you wear them weekly, keep them in the closet in a defined zone. If they are seasonal or occasional, store them in a labeled bin up high or in an under-bed container so your closet floor can stay clear.
What is the best way to store off-season clothes in a reach-in closet?
Top shelf bins with lids work well because they contain dust and keep categories separate. Keep off-season items out of your prime hanging space so daily life is easy.
Your tiny closet can feel bigger
A small reach-in closet will never be a walk-in, but it can feel calm and functional. Start with slim hangers, add double-hanging where it matches your wardrobe, and use vertical storage you can actually access without a fuss. The goal is not a magazine closet. The goal is a closet that works on a Monday morning when you are already running late.