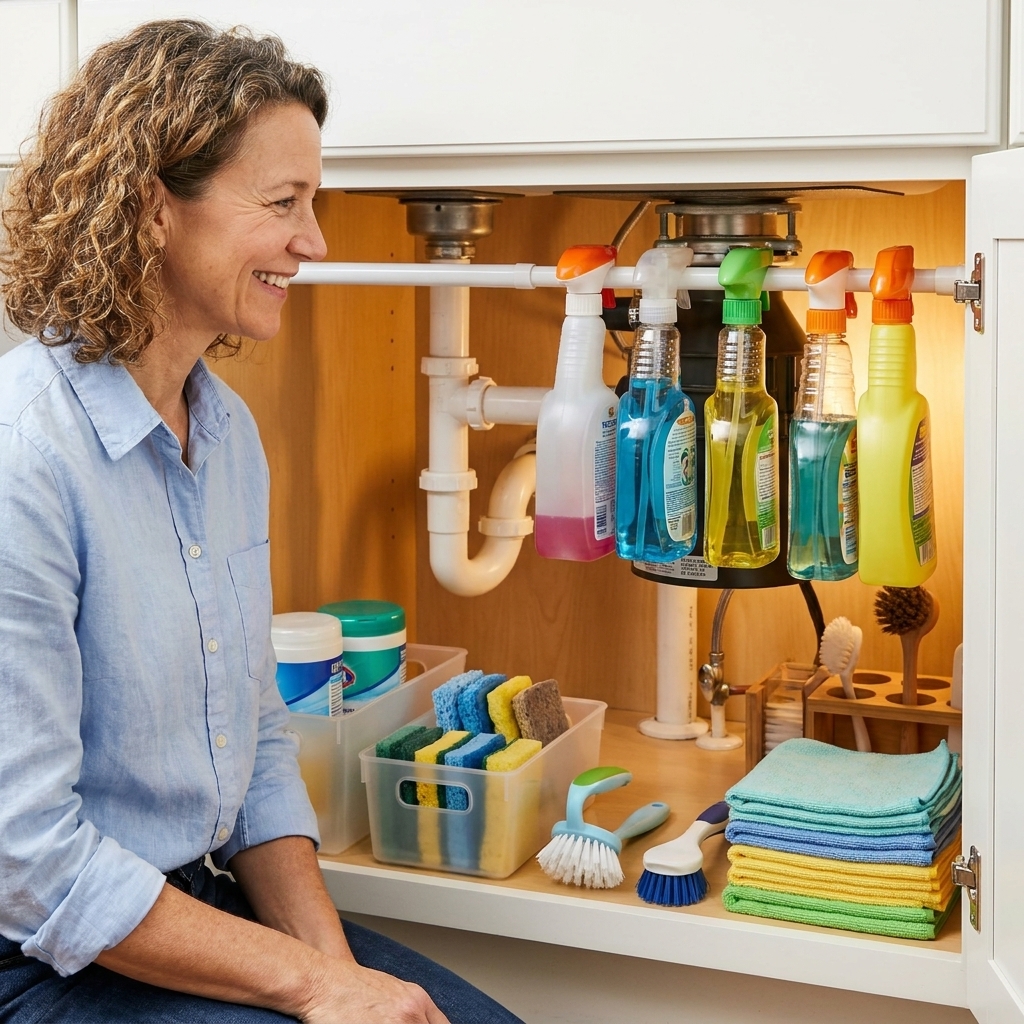
Under the bathroom sink is where good intentions go to die. One leaky shampoo, one random makeup bag, one half-used cleaner, and suddenly you have a slippery pile of mystery bottles wedged around a U-bend like it is a sport.
As a reformed messy person, I am not here to tell you to decant your toothpaste into matching jars. I am here to help you build a system that works with the pipes, not against them. The goal: nothing topples when you open the door, you can find what you need in ten seconds, and the space stays usable even on a chaotic Tuesday.
Start with a 10-minute reset
You cannot organize around plumbing until you can actually see it. This quick reset keeps you from buying containers that do not fit.
- Pull everything out. Yes, even the crusty stuff in the back.
- Wipe the cabinet. If there is a drip pan or liner already, pull it and clean underneath.
- Check for leaks. Look at the trap, supply lines, and shutoff valves. If you see moisture, address that first. No organizer fixes water damage.
- Measure the usable space. Width, depth, and height on each side of the pipe. Also measure the cabinet door interior if you plan to hang anything.
- Declutter fast. Recycle empties, let go of duplicates you do not love, and set aside expired meds for a pharmacy take-back program or your local disposal guidance (skip flushing unless your area specifically instructs it).
Think in zones
The under-sink cabinet works best when each category has a home that is obvious. I use four zones in most bathrooms:
- Frequent grab: skincare, hair products you reach for often, contact solution.
- Refills: extra soap, toothpaste, razors, cotton rounds.
- Cleaning: bathroom spray, toilet cleaner, microfiber cloths, gloves.
- Tools and oddballs: drain snake, replacement toilet brush heads, small first-aid extras, travel kits.
Once you have zones, the plumbing becomes less annoying because you are not trying to make every inch behave the same way.
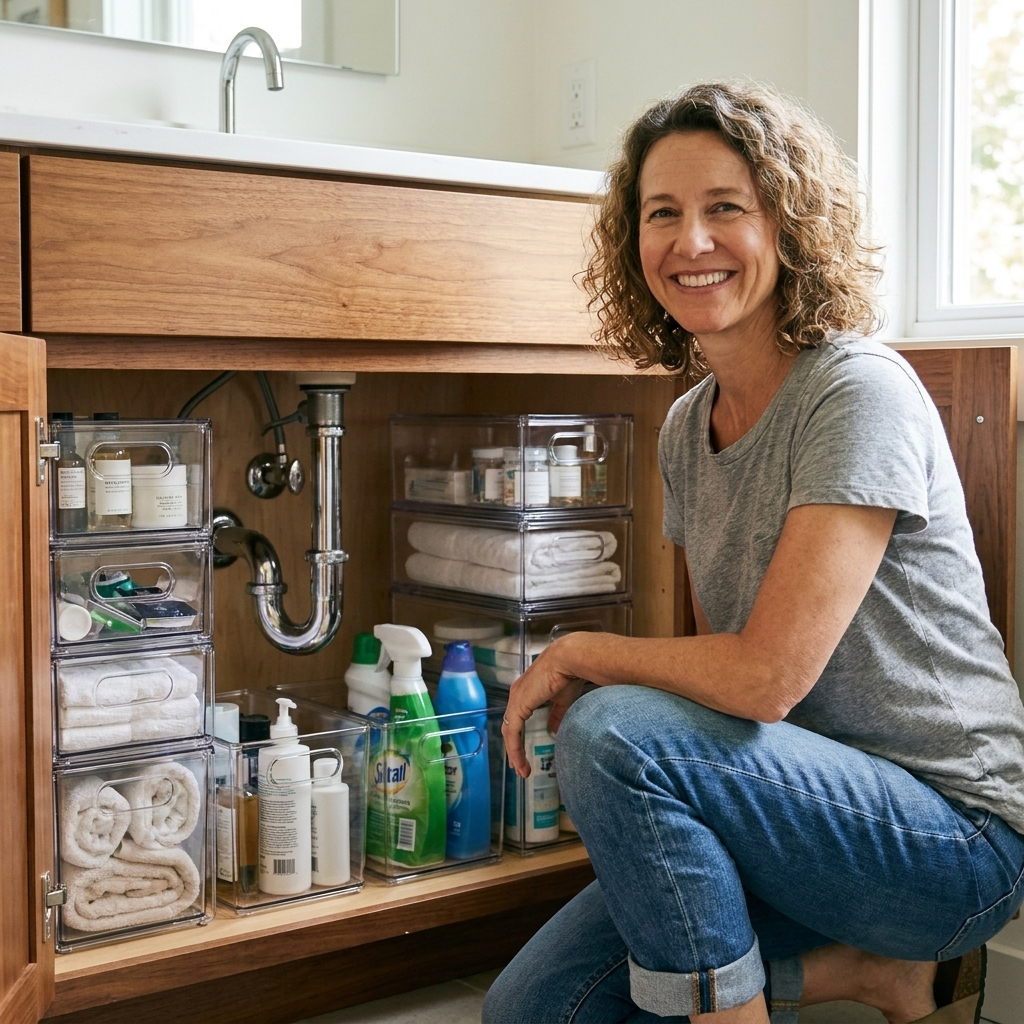
Hack #1: Stackable drawers
Stackable drawers are my under-sink love language because they turn a deep cave into easy-access layers. The trick is using multiple narrow stacks instead of one wide unit that fights the pipe.
How to set it up
- Build two towers. Place one stack on the left and one on the right of the plumbing.
- Keep the middle low. Leave the area directly in front of the U-bend open or use a short bin for flat items.
- Assign drawers by frequency. Top drawer: frequent items. Bottom drawer: backups.
- Add grip. Put non-slip shelf liner under each stack so it does not scoot forward every time you pull a drawer.
My reformed-messy rule: If you cannot open a drawer with one hand while holding something in the other, it will not stay organized. Test it.
Quick size tip: Before you buy, measure your cabinet depth with the door closed. Hinges can steal more space than you think, and drawers that are even slightly too deep become an everyday annoyance.
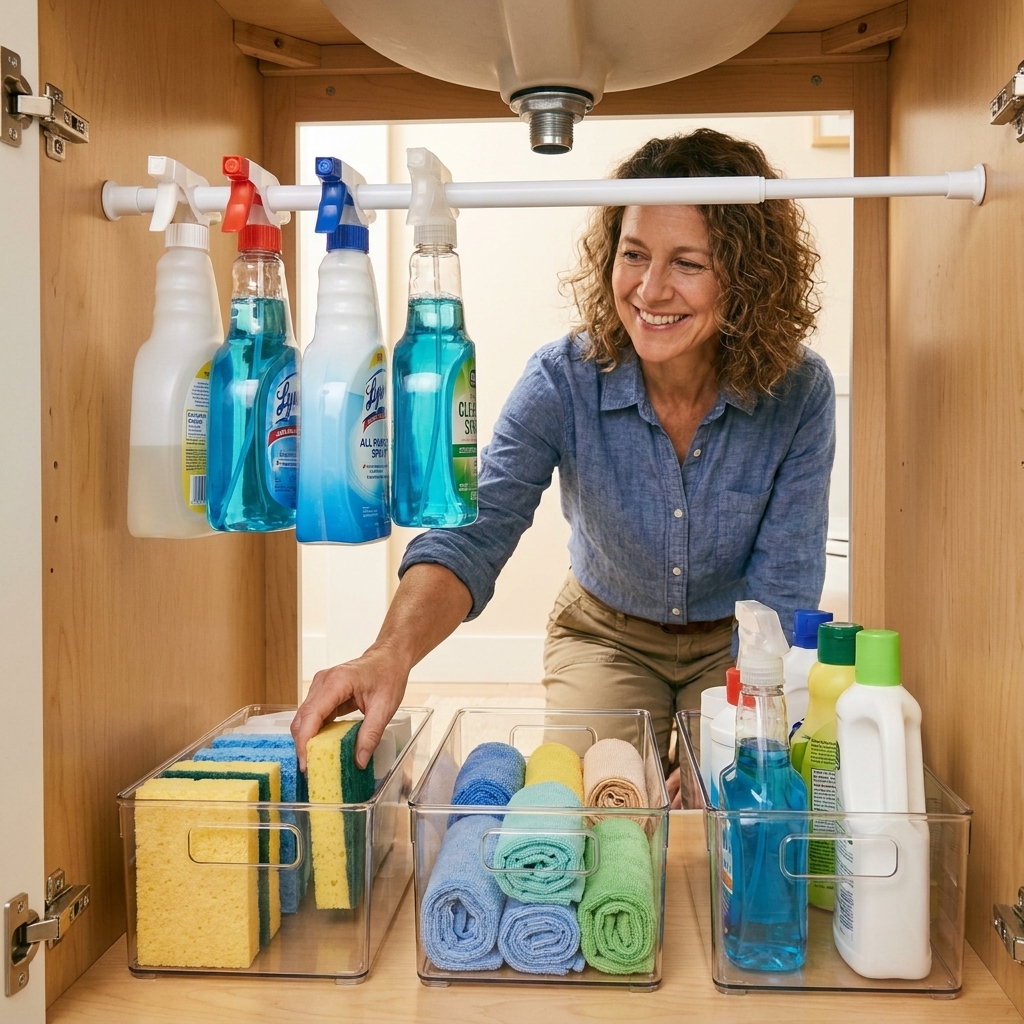
Hack #2: Tension rod for sprays
This one feels like magic the first time you do it. A simple tension rod turns wasted vertical space into a hanging rail for spray bottles, keeping them upright and preventing that puddle ring on the cabinet floor.
Best uses
- Bathroom cleaner sprays
- Glass cleaner
- Hydrogen peroxide or disinfectant sprays
- Hair products in spray bottles, if you store them under the sink
Setup tips
- Place the rod high enough so the trigger heads hook over it and the bottles hang freely.
- Leave room underneath for a bin or small caddy.
- Do not overload it. If it starts bowing, reduce weight or add a second rod.
- Reality check: This works best when you have fairly flat side walls and enough depth that bottles will not bump the door. If your cabinet narrows in the back or has weird angles, skip it and use a handled caddy instead.
If your cabinet walls are slippery, a rod with rubber ends grips better and slips less.
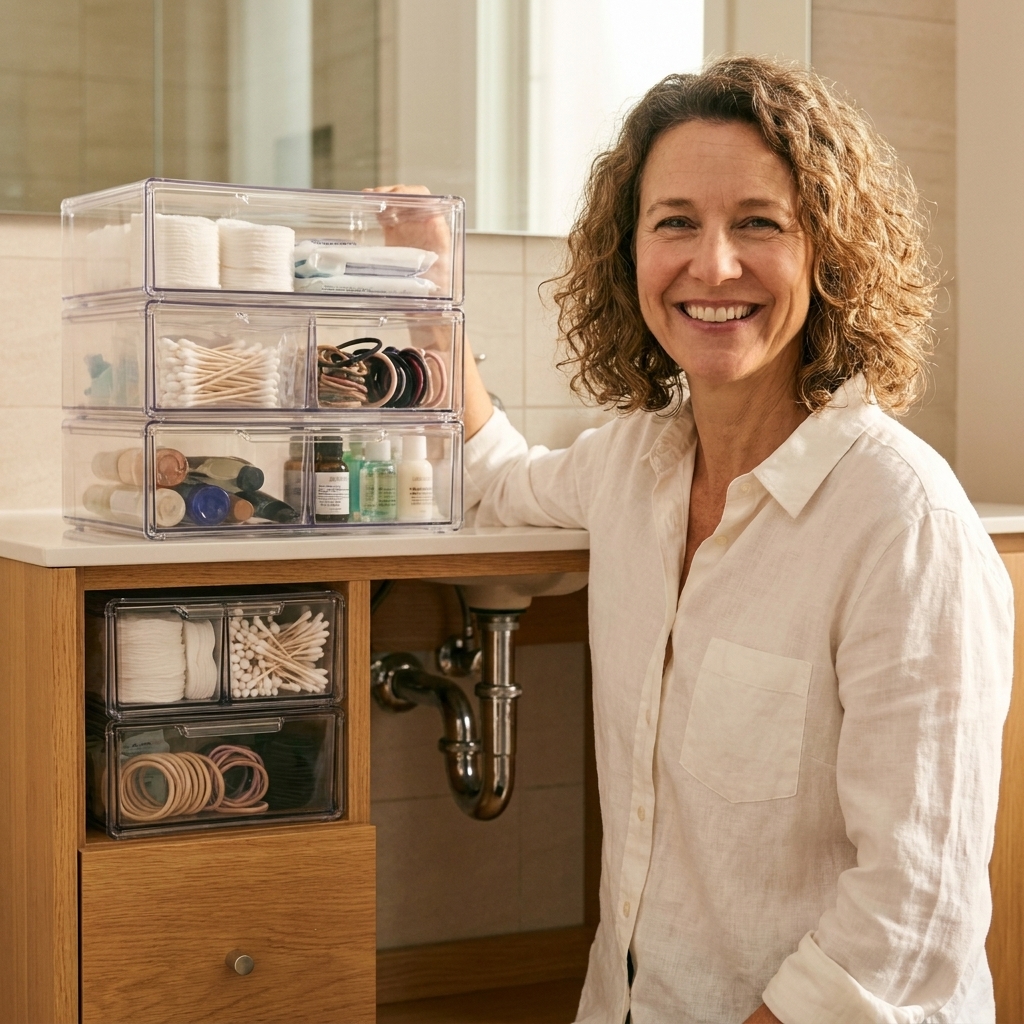
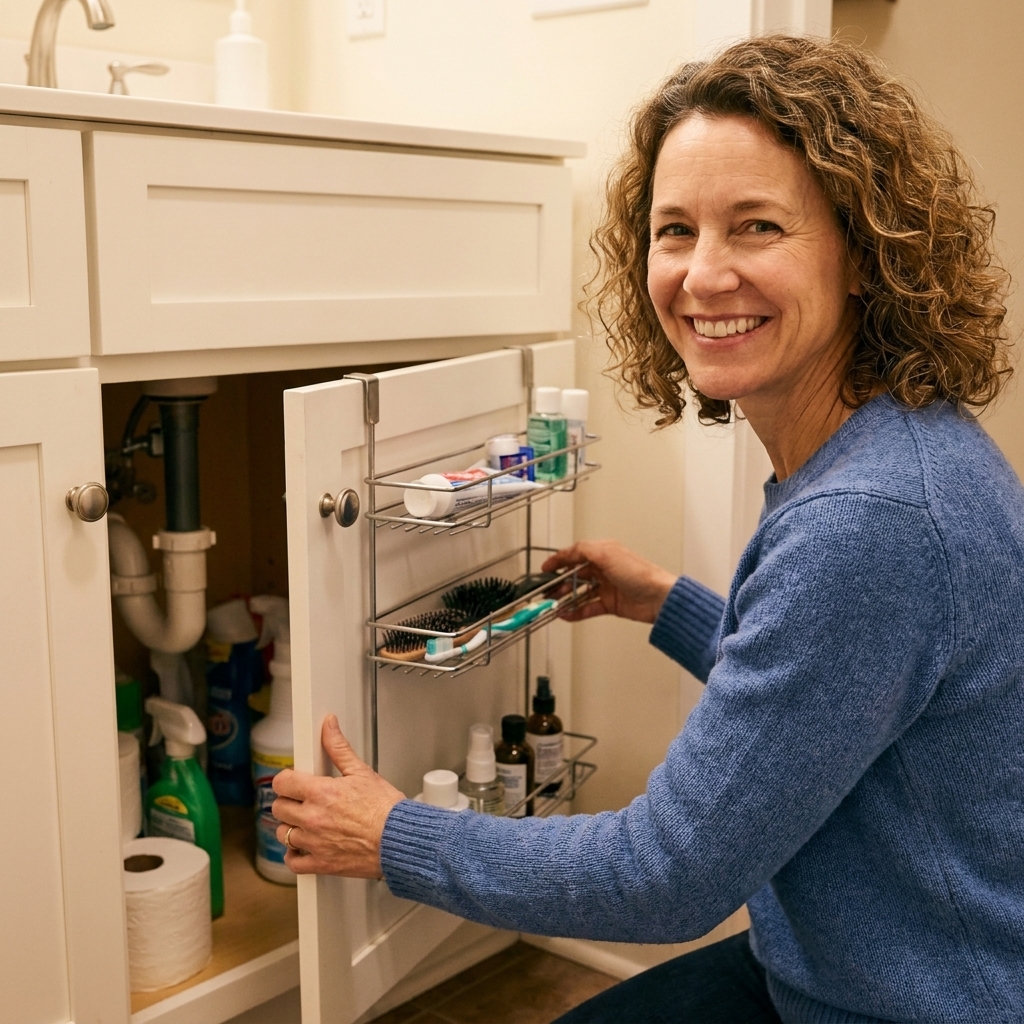
Hack #3: Door racks
The cabinet door is prime real estate, especially when the plumbing steals the middle. A door rack keeps small items visible, which means you actually use them instead of buying duplicates.
What to store on the door
- Hair ties, bobby pins, and small clips in a shallow bin
- Razors and refill cartridges
- Mini first-aid basics (bandages, antiseptic wipes)
- Travel-size items you want to grab quickly
- Toothpaste and toothbrush backups if you have kids and go through them fast
Door-rack reality checks
- Mind the hinges. Avoid placing bulky items where the door swings.
- Check clearance. Close the door slowly the first time to ensure nothing bumps the drawers inside.
- Use screws if possible. Adhesive mounts can fail over time in humid bathrooms, especially on particleboard doors. If you must use adhesive, choose strips rated for humidity and weight.
Hack #4: U-shaped and slim bins
When the pipe blocks a big chunk of the cabinet, stop trying to pretend it is not there. Use containers that intentionally work around it.
- U-shaped bins are made to wrap around the drain pipe, creating usable storage without banging into the plumbing.
- Slim bins fit in those awkward side gaps where nothing else works.
- Handled pull-out bins let you slide products out like a drawer even if your cabinet has no built-in pull-outs.
For toiletries, I like clear bins so I can see what is running low. For cleaning supplies, I prefer a caddy with a handle so I can carry it to the tub or toilet in one trip.
Safety note: If you have kids or pets, treat the under-sink cabinet like the danger zone. Keep cleaners in a lidded bin, add a childproof lock, and store personal care items on the opposite side so you are not reaching past chemicals for toothpaste backups.
Hack #5: A drip zone
Bathrooms are humid, and bottles leak. Give yourself a designated drip zone so one oops does not become warped wood.
- Add a waterproof tray under anything that could leak: mouthwash, rubbing alcohol, cleaners.
- Use a washable mat or shelf liner under bins to catch small drips.
- Keep paper towels nearby in a door rack or top drawer for quick cleanups.
This is not about perfection. It is about making messes easier to recover from, which is the secret to staying organized long-term.
Simple layouts
Standard vanity with centered U-bend
- Left side: stackable drawers for frequent toiletries
- Right side: handled cleaning caddy and backups in a bin
- Center front: low bin for flat items (wipes, refills, liners)
- Back or upper area: tension rod with sprays, only if your side walls are flat and you have door clearance
Pedestal sink with a tiny cabinet
- Skip tall drawers and use two shallow pull-out bins
- Door rack for small items
- One small lidded container for personal items you want hidden
Shared family bathroom
- One labeled bin per person for daily items
- One “family refills” bin for toothpaste, soap, and cotton
- Cleaning supplies in a separate caddy, ideally on the opposite side from toiletries
What not to store
I am not the organization police, but under-sink storage has real limitations: moisture, temperature swings, and the occasional leak. Consider storing these elsewhere:
- Heat- and steam-sensitive skincare if your bathroom gets steamy often. Stability depends on the formula and packaging, but heat can shorten shelf life for some vitamin C products and certain actives.
- Extra toilet paper if leaks are common, store it in a dry closet.
- Medications that require stable temperature and humidity, a hallway cabinet is usually better.
- Flammables and aerosols you would not want near heat or sparks. Keep lids closed, and store them according to the label.
- Anything you forget exists if you have not used it in a year, do not give it premium space.
10-minute weekly reset
This is how you keep your system from slowly sliding back into chaos without spending your whole weekend organizing.
- Minute 1 to 2: Toss empties and wipe any drips.
- Minute 3 to 5: Put items back into their zones, no deep sorting.
- Minute 6 to 8: Check refills. Add two items max to your shopping list.
- Minute 9 to 10: Quick scan for expired products or anything that migrated from another room.
Consistency beats a perfect setup. Always.
Quick fixes
“My cabinet is too shallow.”
Use shallow pull-out bins with handles and door storage. Also measure the depth with the door closed, hinges can steal space.
“Everything falls over.”
Add a low bin as a corral for bottles, or use a tray with a raised lip. Non-slip liner makes a big difference.
“The plumbing takes up the middle.”
Go with two narrow drawer stacks on the sides and a U-shaped bin in the center. Store sprays on a tension rod if your cabinet shape allows it.
“I keep buying duplicates.”
Create one clearly labeled “Backups” bin and commit to storing refills only there. When it is full, you are stocked. When it is empty, you can buy.
Simple shopping list
- 2 narrow stackable drawer units
- 1 tension rod
- 1 door-mounted rack
- 2 handled bins or pull-out caddies
- 1 waterproof tray
- Non-slip shelf liner
- Optional: childproof cabinet lock
If you already have a few bins at home, start there. The best organizing system is the one you actually use, not the one you had to order in six parts.