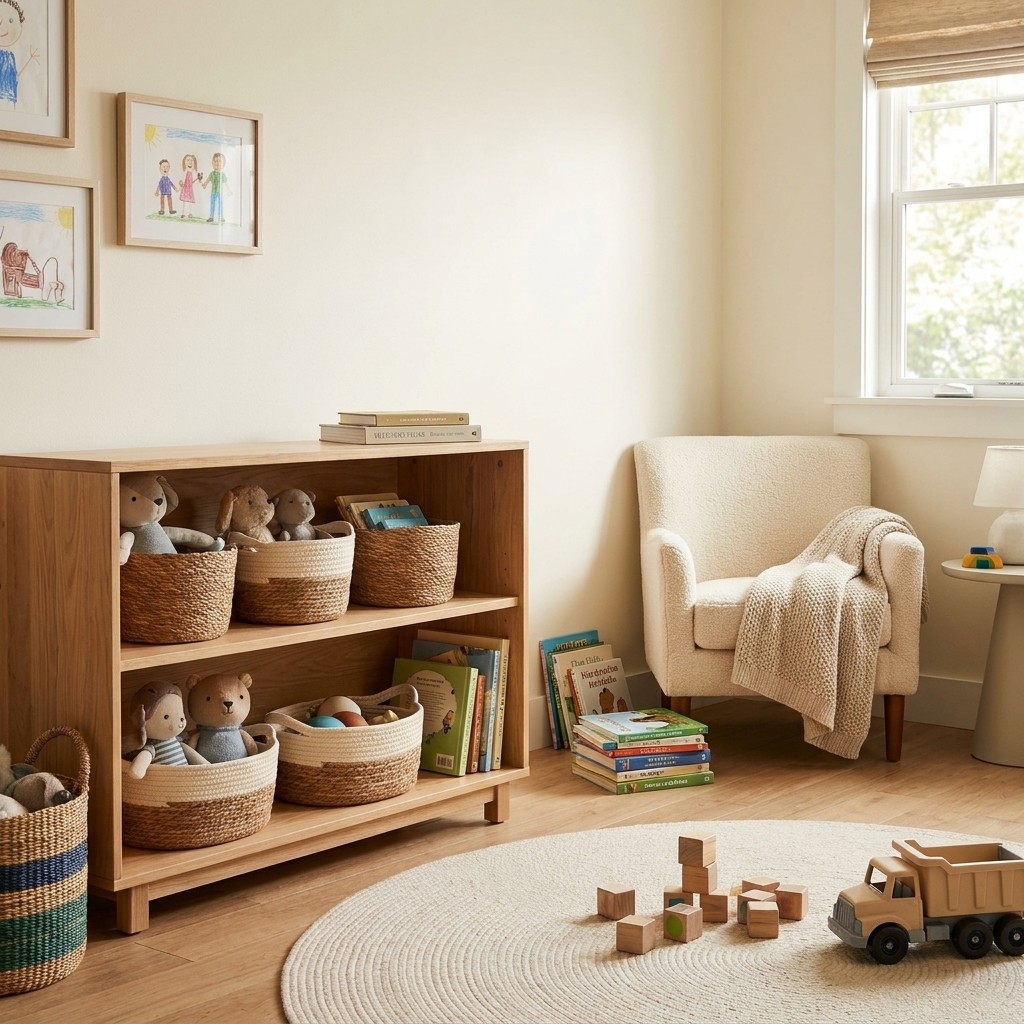
I love a good Pinterest-perfect playroom as much as anyone, but I’m also a reformed messy person raising actual children. So when I say Montessori-inspired kids room organization can work, I mean the real kind of work. The kind where your child can find their pajamas without dumping every drawer. The kind where cleanup doesn’t require you to swoop in like a stressed-out tornado.
At its core, Montessori at home is about independence and accessibility. For organizing, that translates to: less stuff out at once, everything has a clear home, and your child can reach it and put it back without you.
What “Montessori-inspired” means for organization
You don’t need to redesign your whole house or buy expensive wooden everything. For a bedroom, Montessori-inspired organization usually comes down to four principles:
- Low and reachable: toys, books, and clothes are stored where your child can access them safely.
- Limited choices: for many kids, fewer items available at one time means less overwhelm and fewer mess explosions.
- Clear visual cues: labels, pictures, and consistent categories make it obvious where things go.
- Simple reset routines: a short daily tidy plus a weekly refresh beats marathon cleanups.
If your child is old enough to pull every toy off a shelf, they’re old enough to learn the “one category per bin” magic.
Step 1: Declutter to what your kid can manage
This is the part nobody wants to hear, but it’s the part that makes everything else possible. If you want your child to maintain their room, the volume of stuff has to match their age and attention span.
A quick “keep” filter
- Keep toys that get used weekly.
- Keep open-ended favorites (blocks, dolls, vehicles, art supplies).
- Limit complicated sets unless you’re willing to supervise the setup and teardown.
- Let go of toys with missing parts that cause frustration.
My rule of thumb: if cleanup regularly takes longer than playtime, there’s too much out.
Put “not sure” items in a lidded bin in a closet for a week or two. If they aren’t requested, rotate or donate.
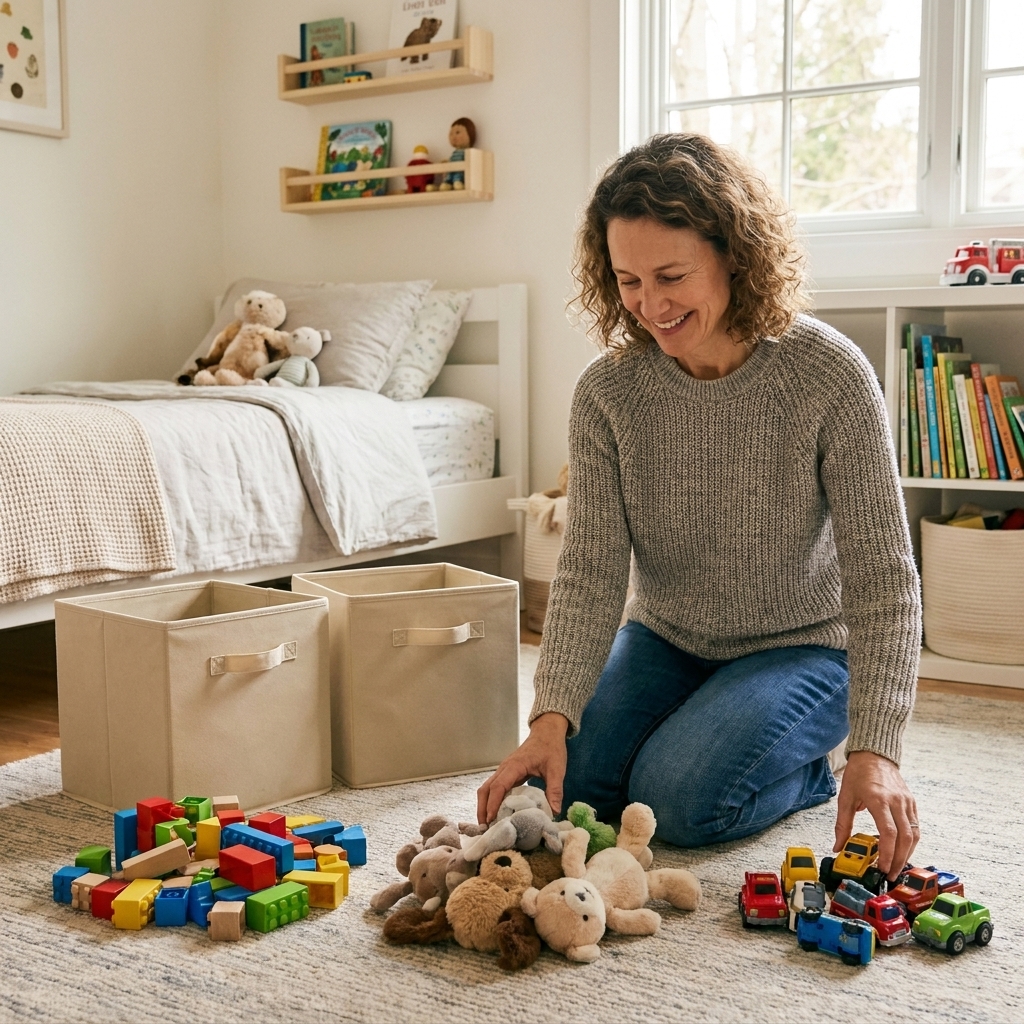
Step 2: Pick a low shelf for independence
A low shelf is the backbone of a Montessori-inspired room. It’s basically a “toy menu” your child can see and manage. The goal isn’t to store everything. The goal is to display a small, curated selection in a way that makes cleanup obvious.
What to look for
- Child height: your child can reach the top without climbing.
- Open cubbies: easier for kids than deep shelves or stacked towers.
- Stable and anchored: tip-over prevention is standard child-safety guidance, so anchor furniture that could topple.
- Space for bins: cubbies that fit standard baskets or fabric bins are ideal.
How to stock it
- Leave at least one empty cubby if you can. Empty space isn’t wasted space, it’s “room to put things back.”
- Many families start with 6 to 10 total activities out, then adjust from there.
- Keep the floor clear enough to play without dragging everything into the hallway.
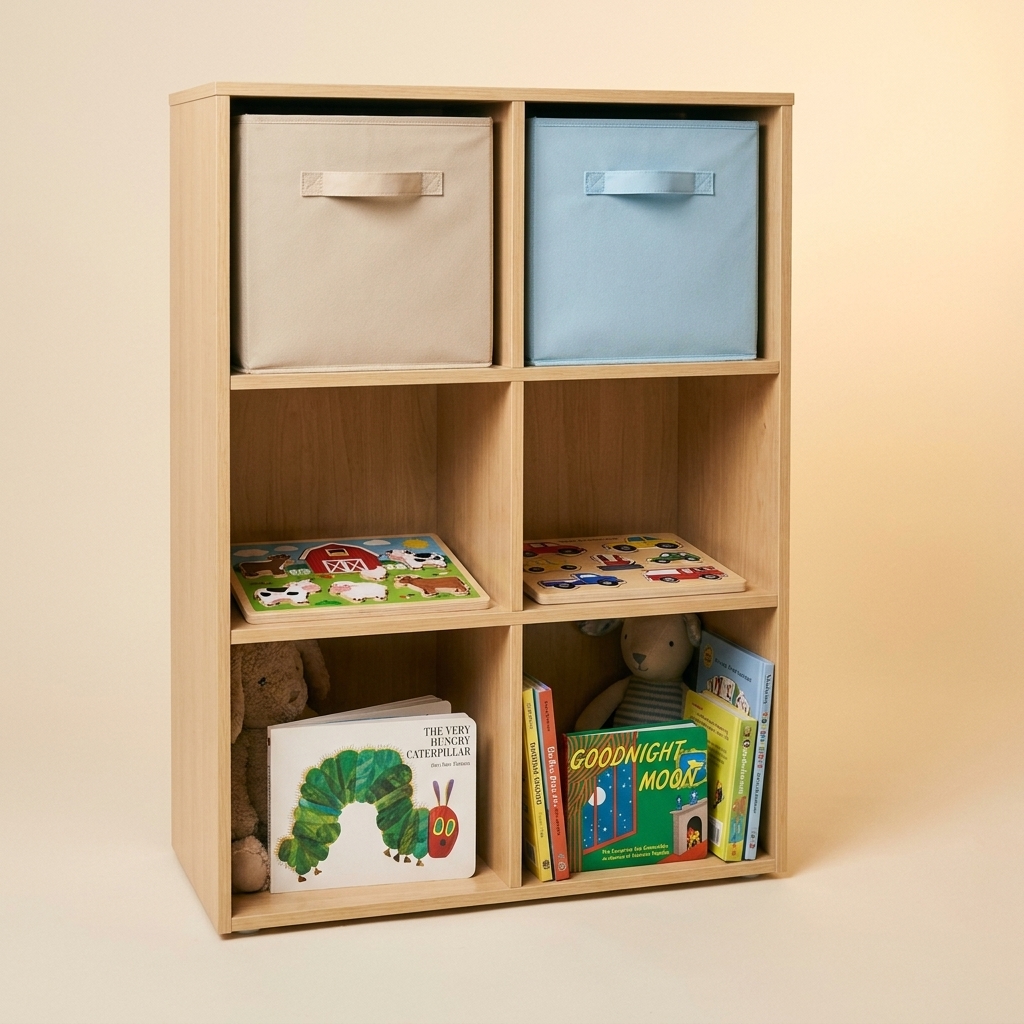
Step 3: Use bins with clear categories
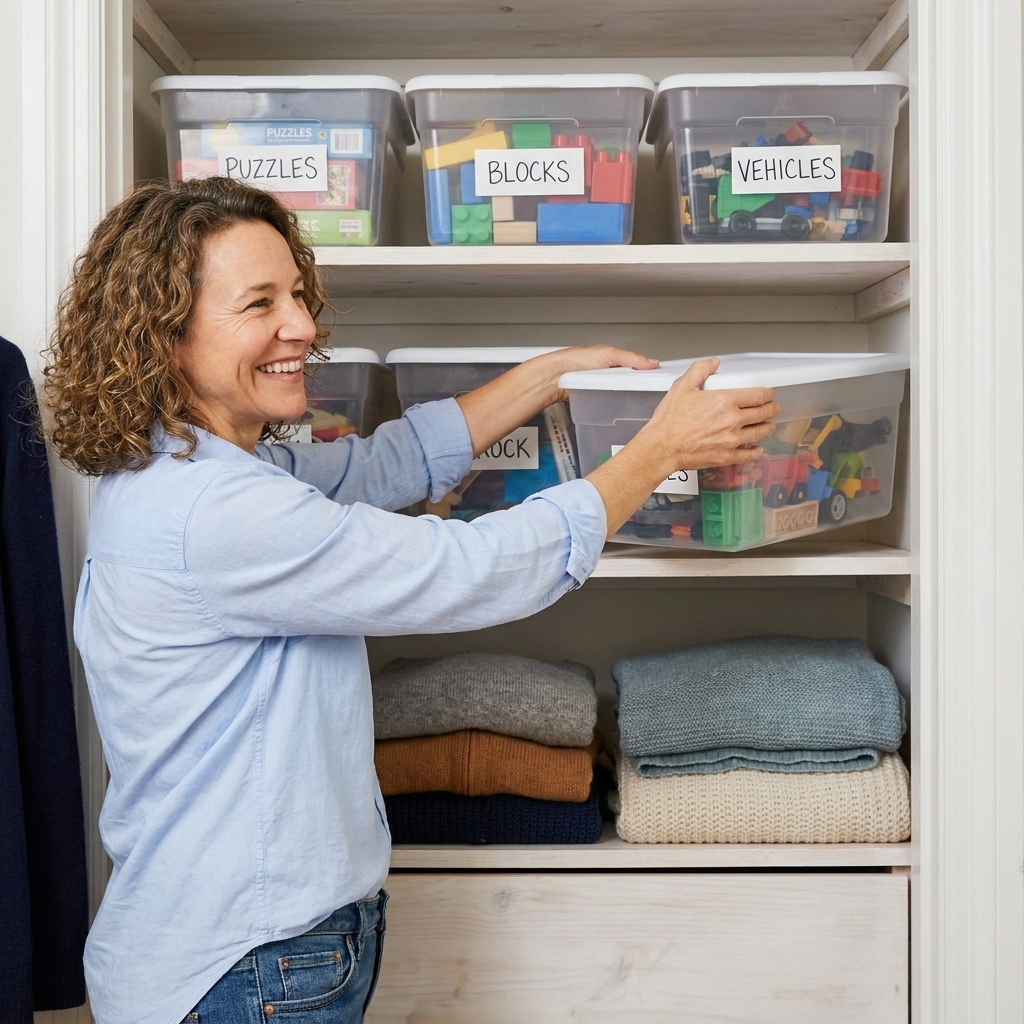
Bins are great. Bins with mixed categories tend to turn into a jumble in a cute container. The Montessori-inspired approach is: one bin equals one category, and the category is simple enough that your child gets it.
Kid-proof category ideas
- Blocks
- Dress-up
- Cars
- Animals
- Baby dolls
- Art supplies
- Magnets
- Puzzles
Bin tips from a reformed messy mom
- Go shallow when possible: kids can see what’s inside, and cleanup is less like digging a trench.
- Soft bins are forgiving: fabric bins and baskets are easier for little hands than hard latching tubs.
- Avoid lids for daily use: lids add friction, and friction can kill habits.
- Make “tiny pieces” a grown-up zone: store beads, mini LEGO, and small game pieces up high or in a closet until your child can manage them. Choking hazards are real, so follow age guidance on the packaging.
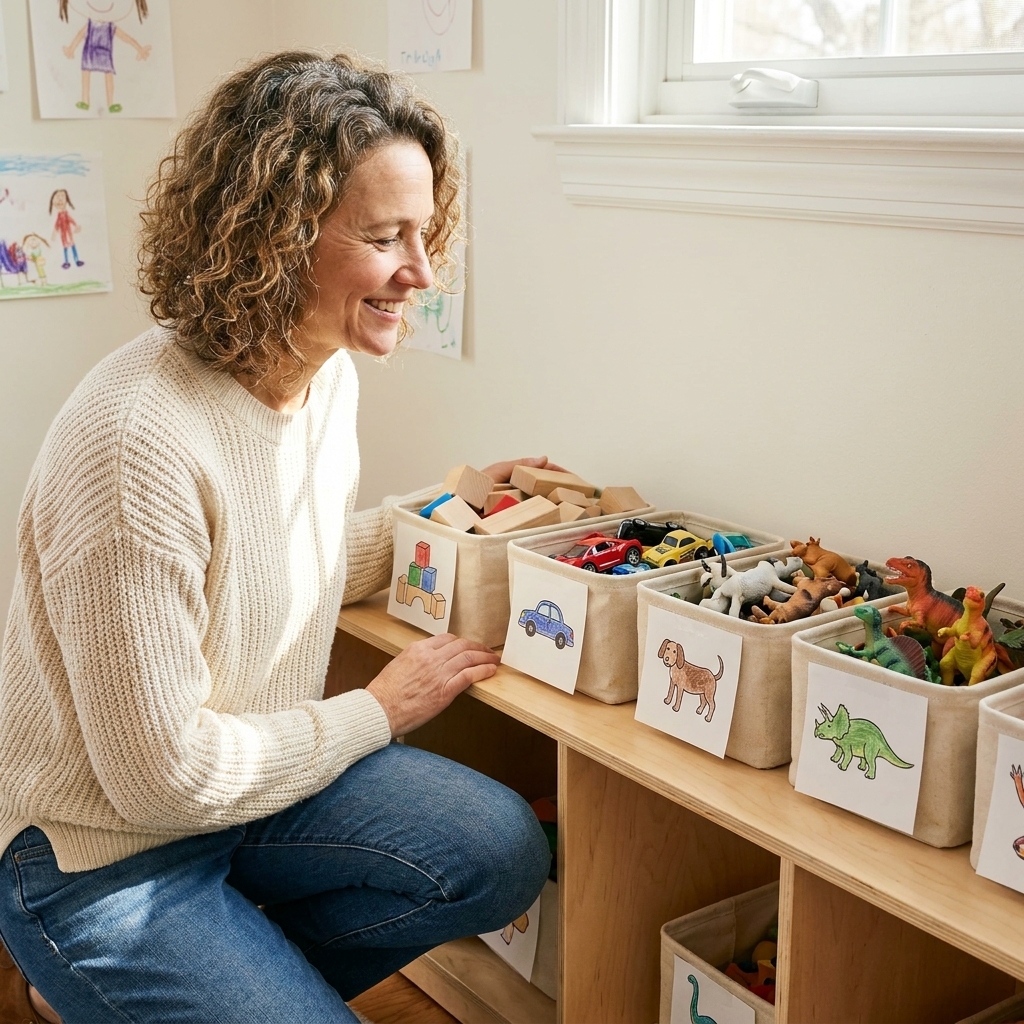
Step 4: Add labels your child can use
If your child can’t read yet, word-only labels are basically decor for you. Picture labels are the bridge between “I want them to tidy” and “they truly know where it goes.”
Simple labeling that works
- Use photos: take a quick photo of the actual contents and tape it to the bin.
- Use icons: a simple car picture for cars, a block picture for blocks.
- Keep it consistent: label bins and shelves the same way every time.
- Make labels durable: clear tape over paper labels, or slide labels into a small plastic sleeve.
Pro tip: label the home, not the item. Your child is matching “cars go in the car bin,” not trying to sort by brand, size, and emotional attachment.
Step 5: Set up a simple toy rotation
Toy rotation sounds fancy, but it’s really just “not everything out at once.” Many parents find rotations can cut down on cleanup time, help kids focus longer, and make old toys feel new again.
A no-stress rotation plan
- Pick 6 to 10 activities for the shelf as a starting point.
- Store the rest in a closet or under-bed bin.
- Swap 2 to 4 items each week or every two weeks.
- Rotate based on what’s being used, not on a perfect schedule.
If you’re thinking, “I’ll never remember to rotate,” tie it to something you already do, like laundry day or your Sunday reset.
Step 6: Make clothes easy to grab
Bedroom organization falls apart fast when clothing storage is too complicated. If your child can dress themselves, their closet and drawers should be set up for success.
Clothing setup ideas
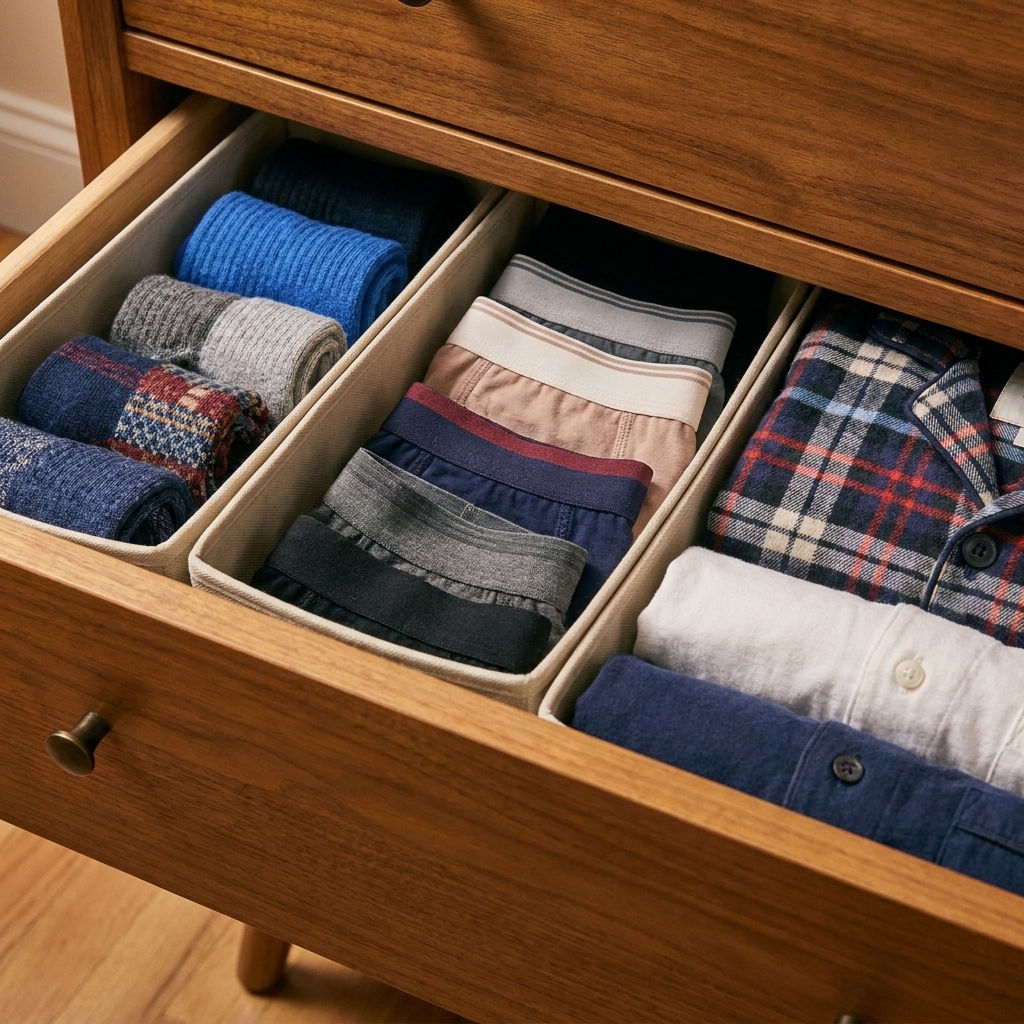
- Lower the “daily” items: pajamas, underwear, socks, and tops in the lowest drawers or lowest hanging bar.
- Use drawer dividers: one section for socks, one for underwear, one for pajamas. Cheap dividers are lifesavers.
- Limit choices: consider 5 to 7 everyday outfits in easy reach. Store out-of-season clothing elsewhere.
- Use open bins for basics: for toddlers, a bin for shirts and a bin for pants can beat folding battles.
If your child dumps drawers, it’s usually not attitude. It’s a system mismatch. Shallow drawers, fewer items, and clear categories help.
Step 7: Create drop zones for daily clutter
Even the best toy shelf can’t compete with the reality of daily life. The easiest fix is to give the usual clutter a home.
Common kid-bedroom drop zones
- A small basket for stuffed animals that must sleep in the bed
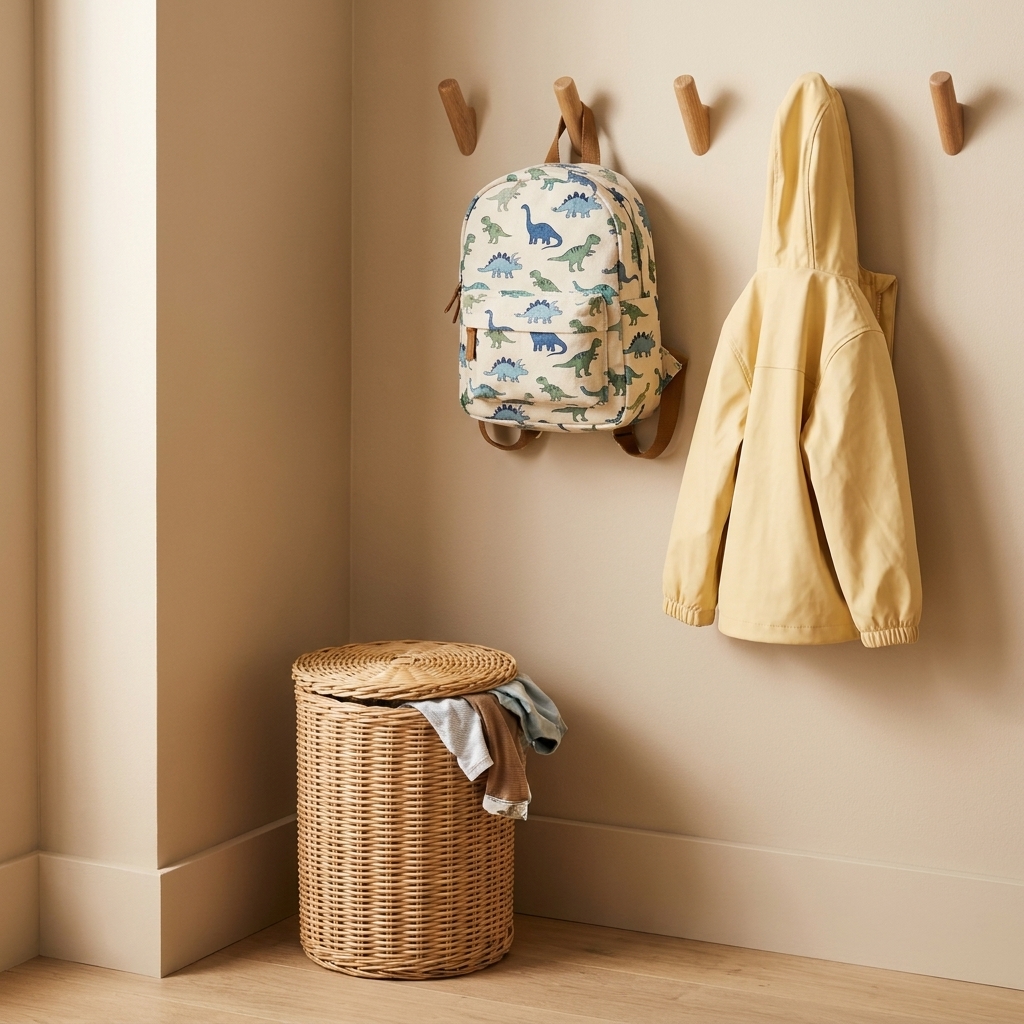
- A hamper that’s easy to hit (wide opening, not tucked behind a door)
- A hook or low peg rail for backpacks and hoodies
- A tiny tray or bowl for “treasures” like rocks, notes, and tiny toys
The goal is containment, not perfection. Contained clutter is manageable clutter.
Teach tidy skills in small steps
Kids don’t automatically know how to tidy. They learn by doing it with you, a lot, in the beginning. The Montessori angle here is respectful coaching, not barking orders from the doorway.
A 5-minute tidy script
- “First we put all the blocks in the block bin.”
- “Now we put the cars in the car bin.”
- “What’s one thing you can put away all by yourself?”
Start with one category at a time. If you ask a preschooler to “clean your room,” they hear “enter the overwhelm zone.” If you say “let’s put the dolls in their basket,” they can succeed.
A realistic reset routine
I love a Sunday afternoon reset because it keeps the week from spiraling. For kids rooms, you want two layers: a tiny daily reset and a slightly deeper weekly one.
Daily (3 to 7 minutes)
- Toys back to labeled bins
- Dirty clothes into hamper
- Books back to shelf or basket
Weekly (10 to 20 minutes)
- Toss obvious trash and bring dishes out
- Return “migrated” toys to the right room
- Quick wipe of shelf tops and dresser
- Swap a couple rotation items if interest is fading
If you have multiple kids, do the weekly reset with a laundry basket in your hand. One pass, scoop what doesn’t belong, redistribute later. No perfection required.
Troubleshooting
“They dump everything out five minutes after cleanup.”
That usually means there’s too much available at once, or the categories are too broad. Reduce what’s on the shelf and simplify bins. Toddlers often do better with fewer, bigger categories (like “building,” “pretend,” and “wheels”). Older kids can handle more specific bins.
“They say they don’t know where it goes.”
Add photo labels. Also check that the “home” is truly reachable without climbing or heavy lifting. If a bin is heavy, keep it on a lower shelf.
“They can tidy, but only if I stand there.”
Normal. Stay consistent with a short routine, then slowly step back. Start by helping for 4 minutes, then 3, then 2. Independence is built in tiny reps.
“The system works for a week, then falls apart.”
That’s not failure, it’s feedback. Most systems need a tweak. Often the fix is removing 20 percent of the stuff, adding a catch-all treasure dish, color-coding a shared shelf, or relocating one bin that never gets used.
Simple shopping list
You can do a lot with what you already have, but if you’re building a setup from scratch, these are the basics I find genuinely useful:
- Low shelf or cubby unit (anchored)
- 6 to 10 bins or baskets that fit the shelf
- Drawer dividers for socks and underwear
- Low hooks or peg rail for backpacks and jackets
- Picture labels (printed photos work great)
- One or two under-bed bins for toy rotation
If you want to splurge anywhere, splurge on bins that are easy to grab and easy to put back. Ease is what makes kids actually use the system.
FAQ
What age does Montessori-inspired bedroom organization work for?
You can start as soon as your child is mobile and choosing toys, typically toddler age. The system evolves: toddlers need fewer categories and bigger bins, while older kids can handle more specific zones and drawer organization.
Do I need open shelving for Montessori?
No, but it helps. If open shelving feels too visually busy, try a shelf with a few baskets, or keep doors on a cabinet and make the inside simple and labeled. The key is that your child can access it and put it back.
How many toys should be out at once?
Enough to play well, not enough to overwhelm. Many families start with about 6 to 10 activities on a shelf, then scale up or down based on how cleanup and play are going.
What if my child shares a room?
Give each child a defined section: one shelf, one side of the dresser, one bin color. Shared categories can live in the middle. Labels help prevent the “that’s mine” spiral.
The goal is a room your child can run
A Montessori-inspired kids room isn’t about having less fun or living in a showroom. It’s about building a space where your child can play, find what they need, and reset it with confidence.
Start small: one low shelf, a few bins, and picture labels. Then adjust based on how your child actually uses the room. Trust me, a flexible system beats a perfect one every time.